This post is in partnership with Framebridge. Great partners help me to bring great content to this blog. As always all opinions are my own. Framebridge gifted frames for this post.
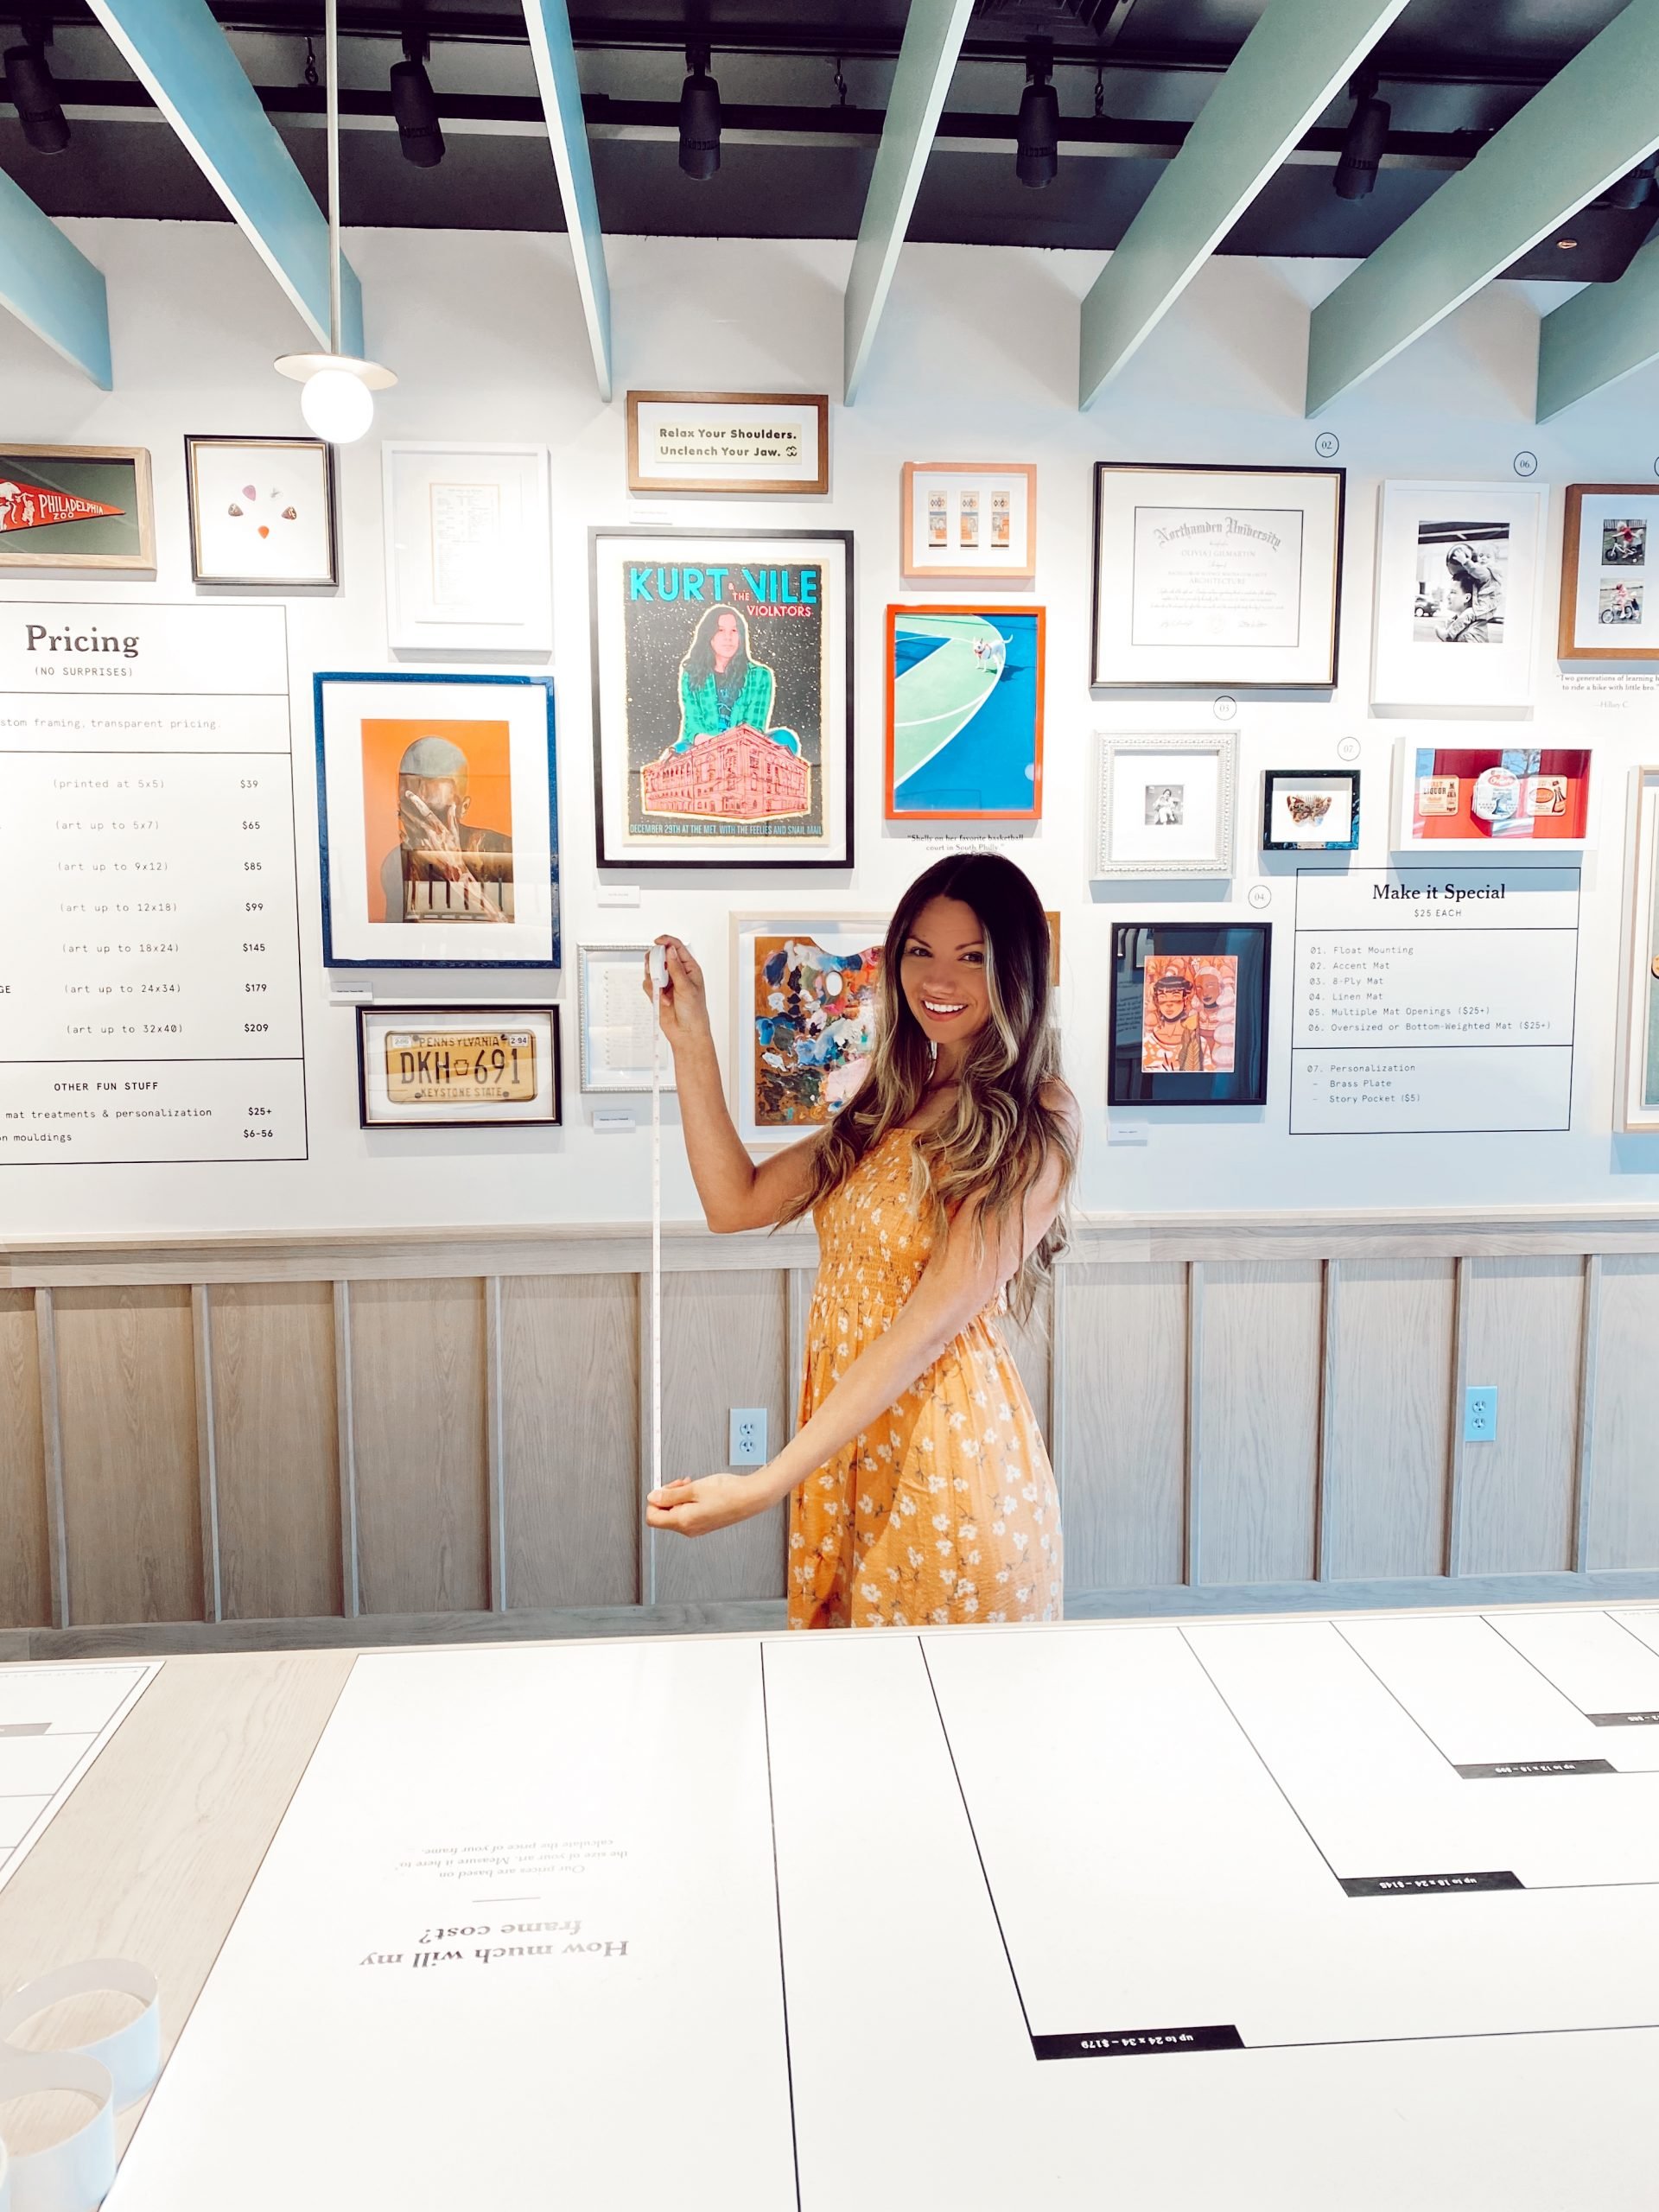
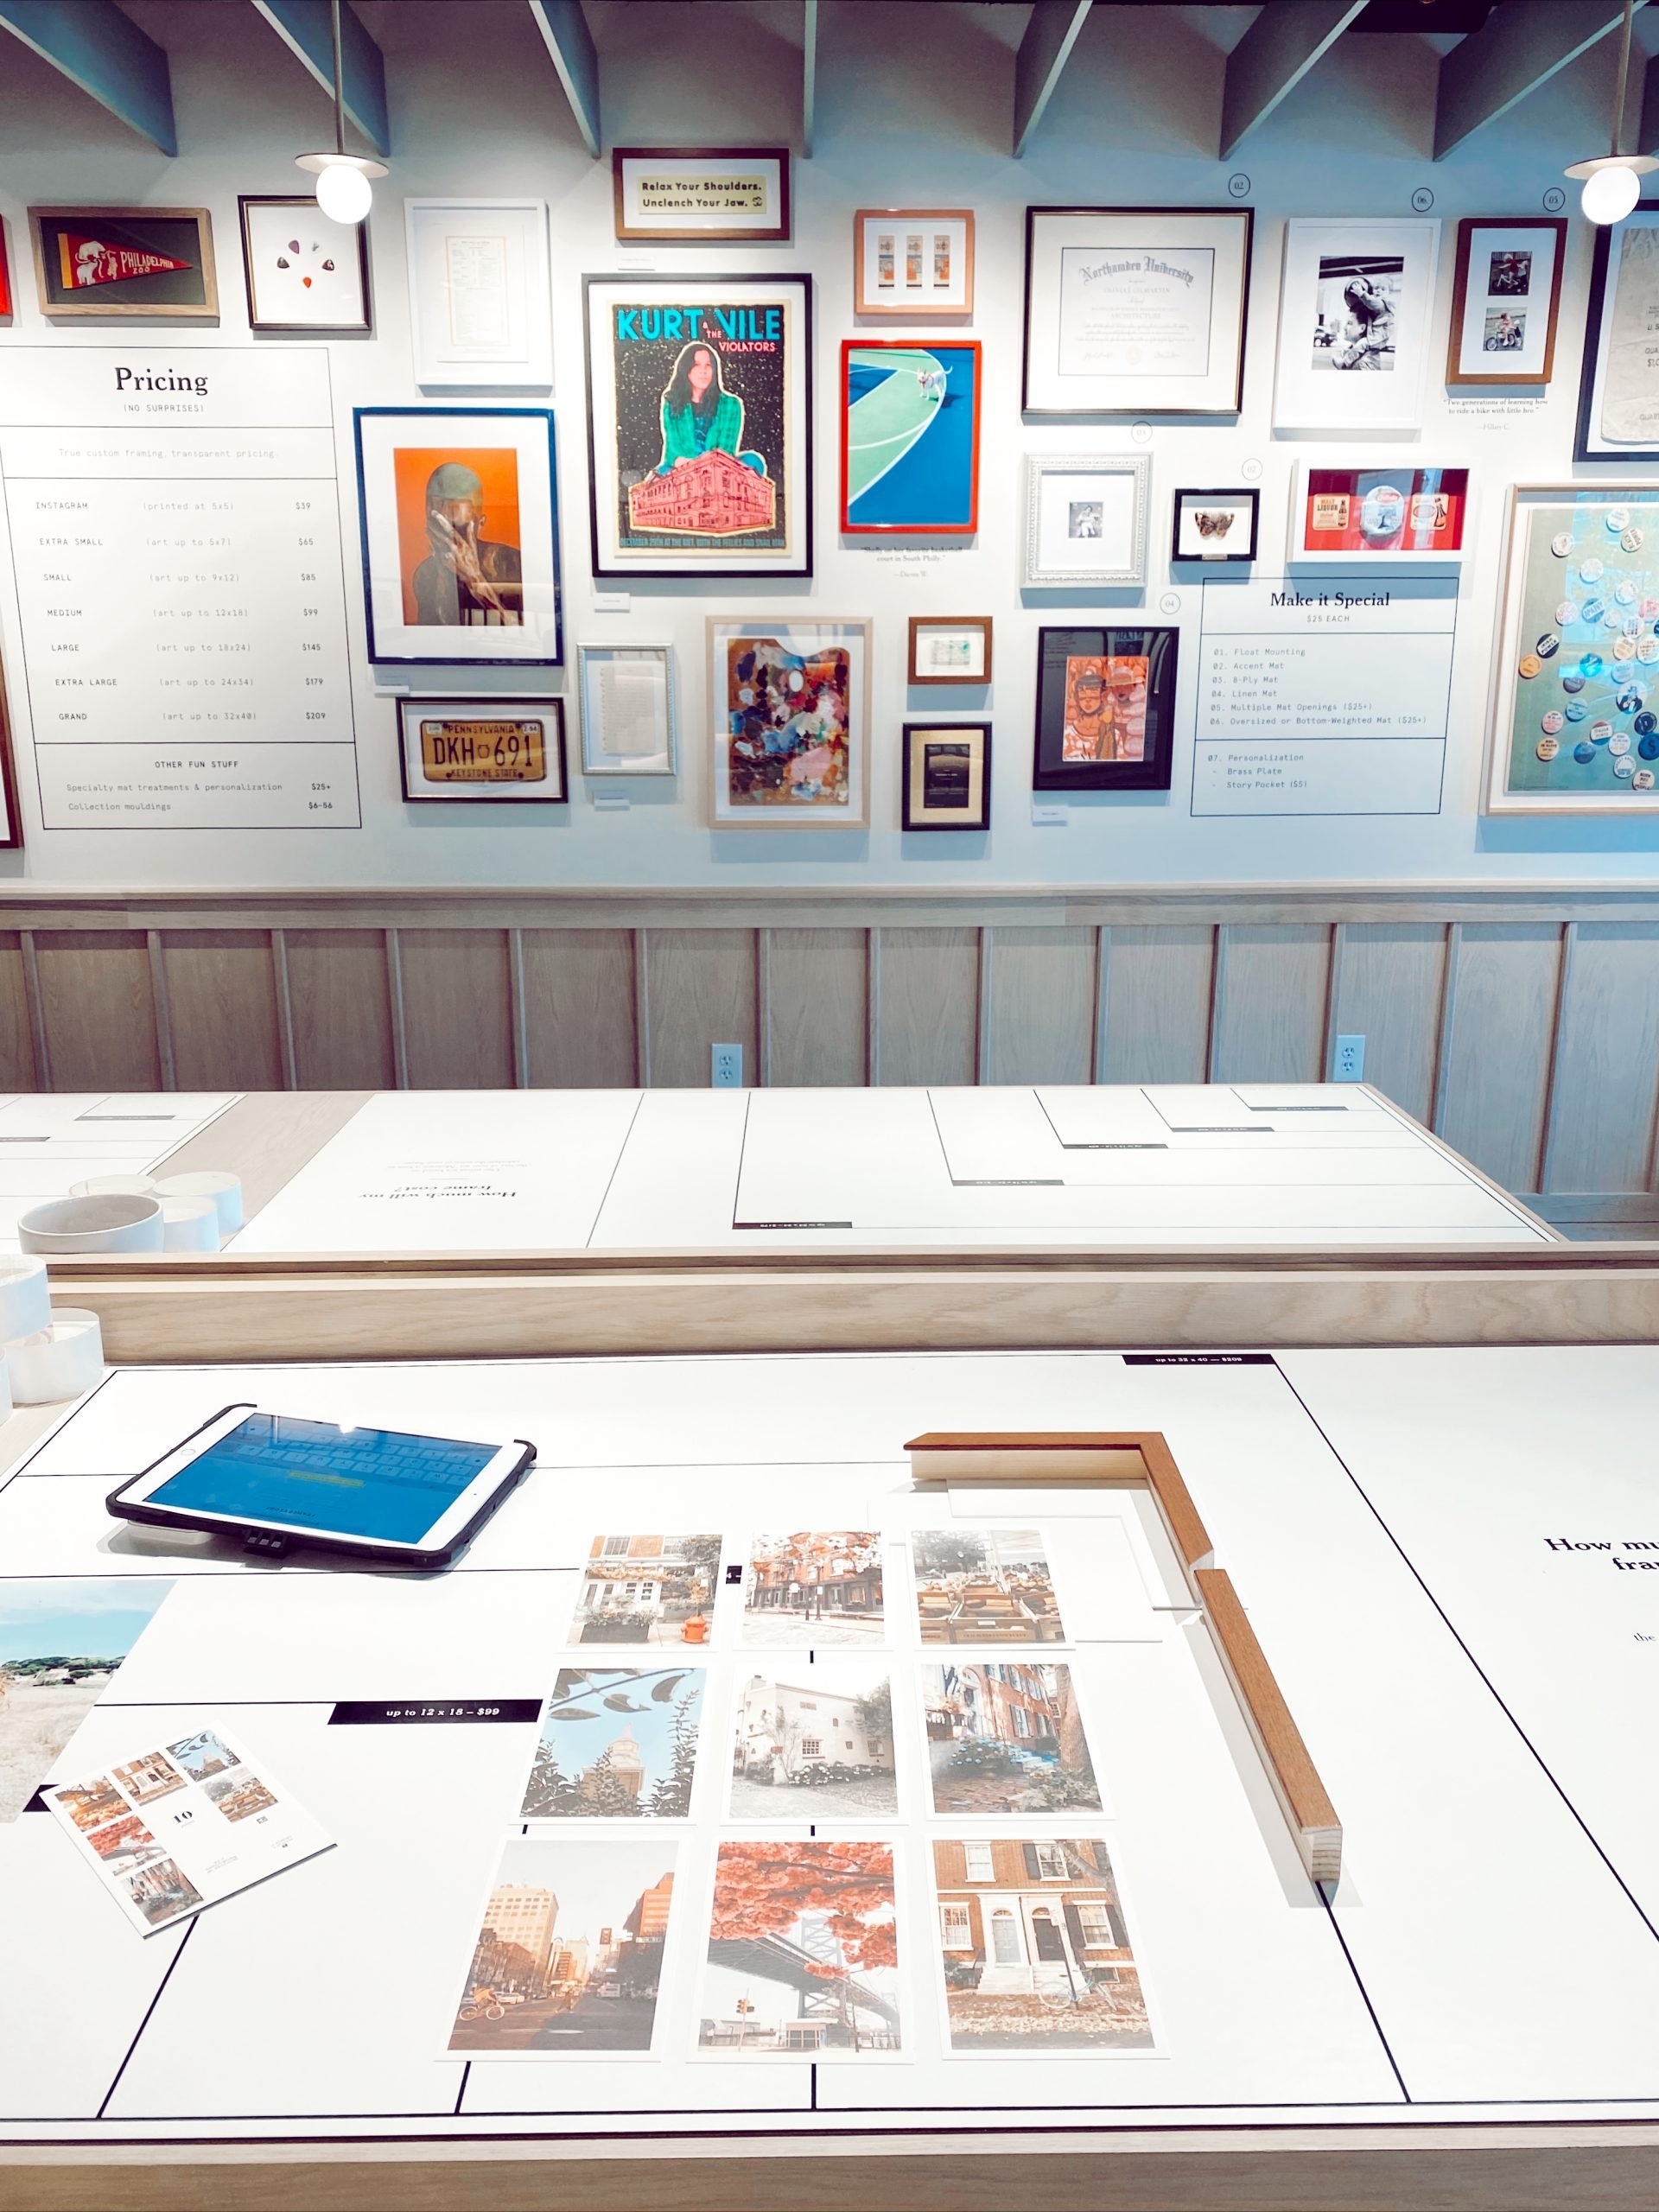
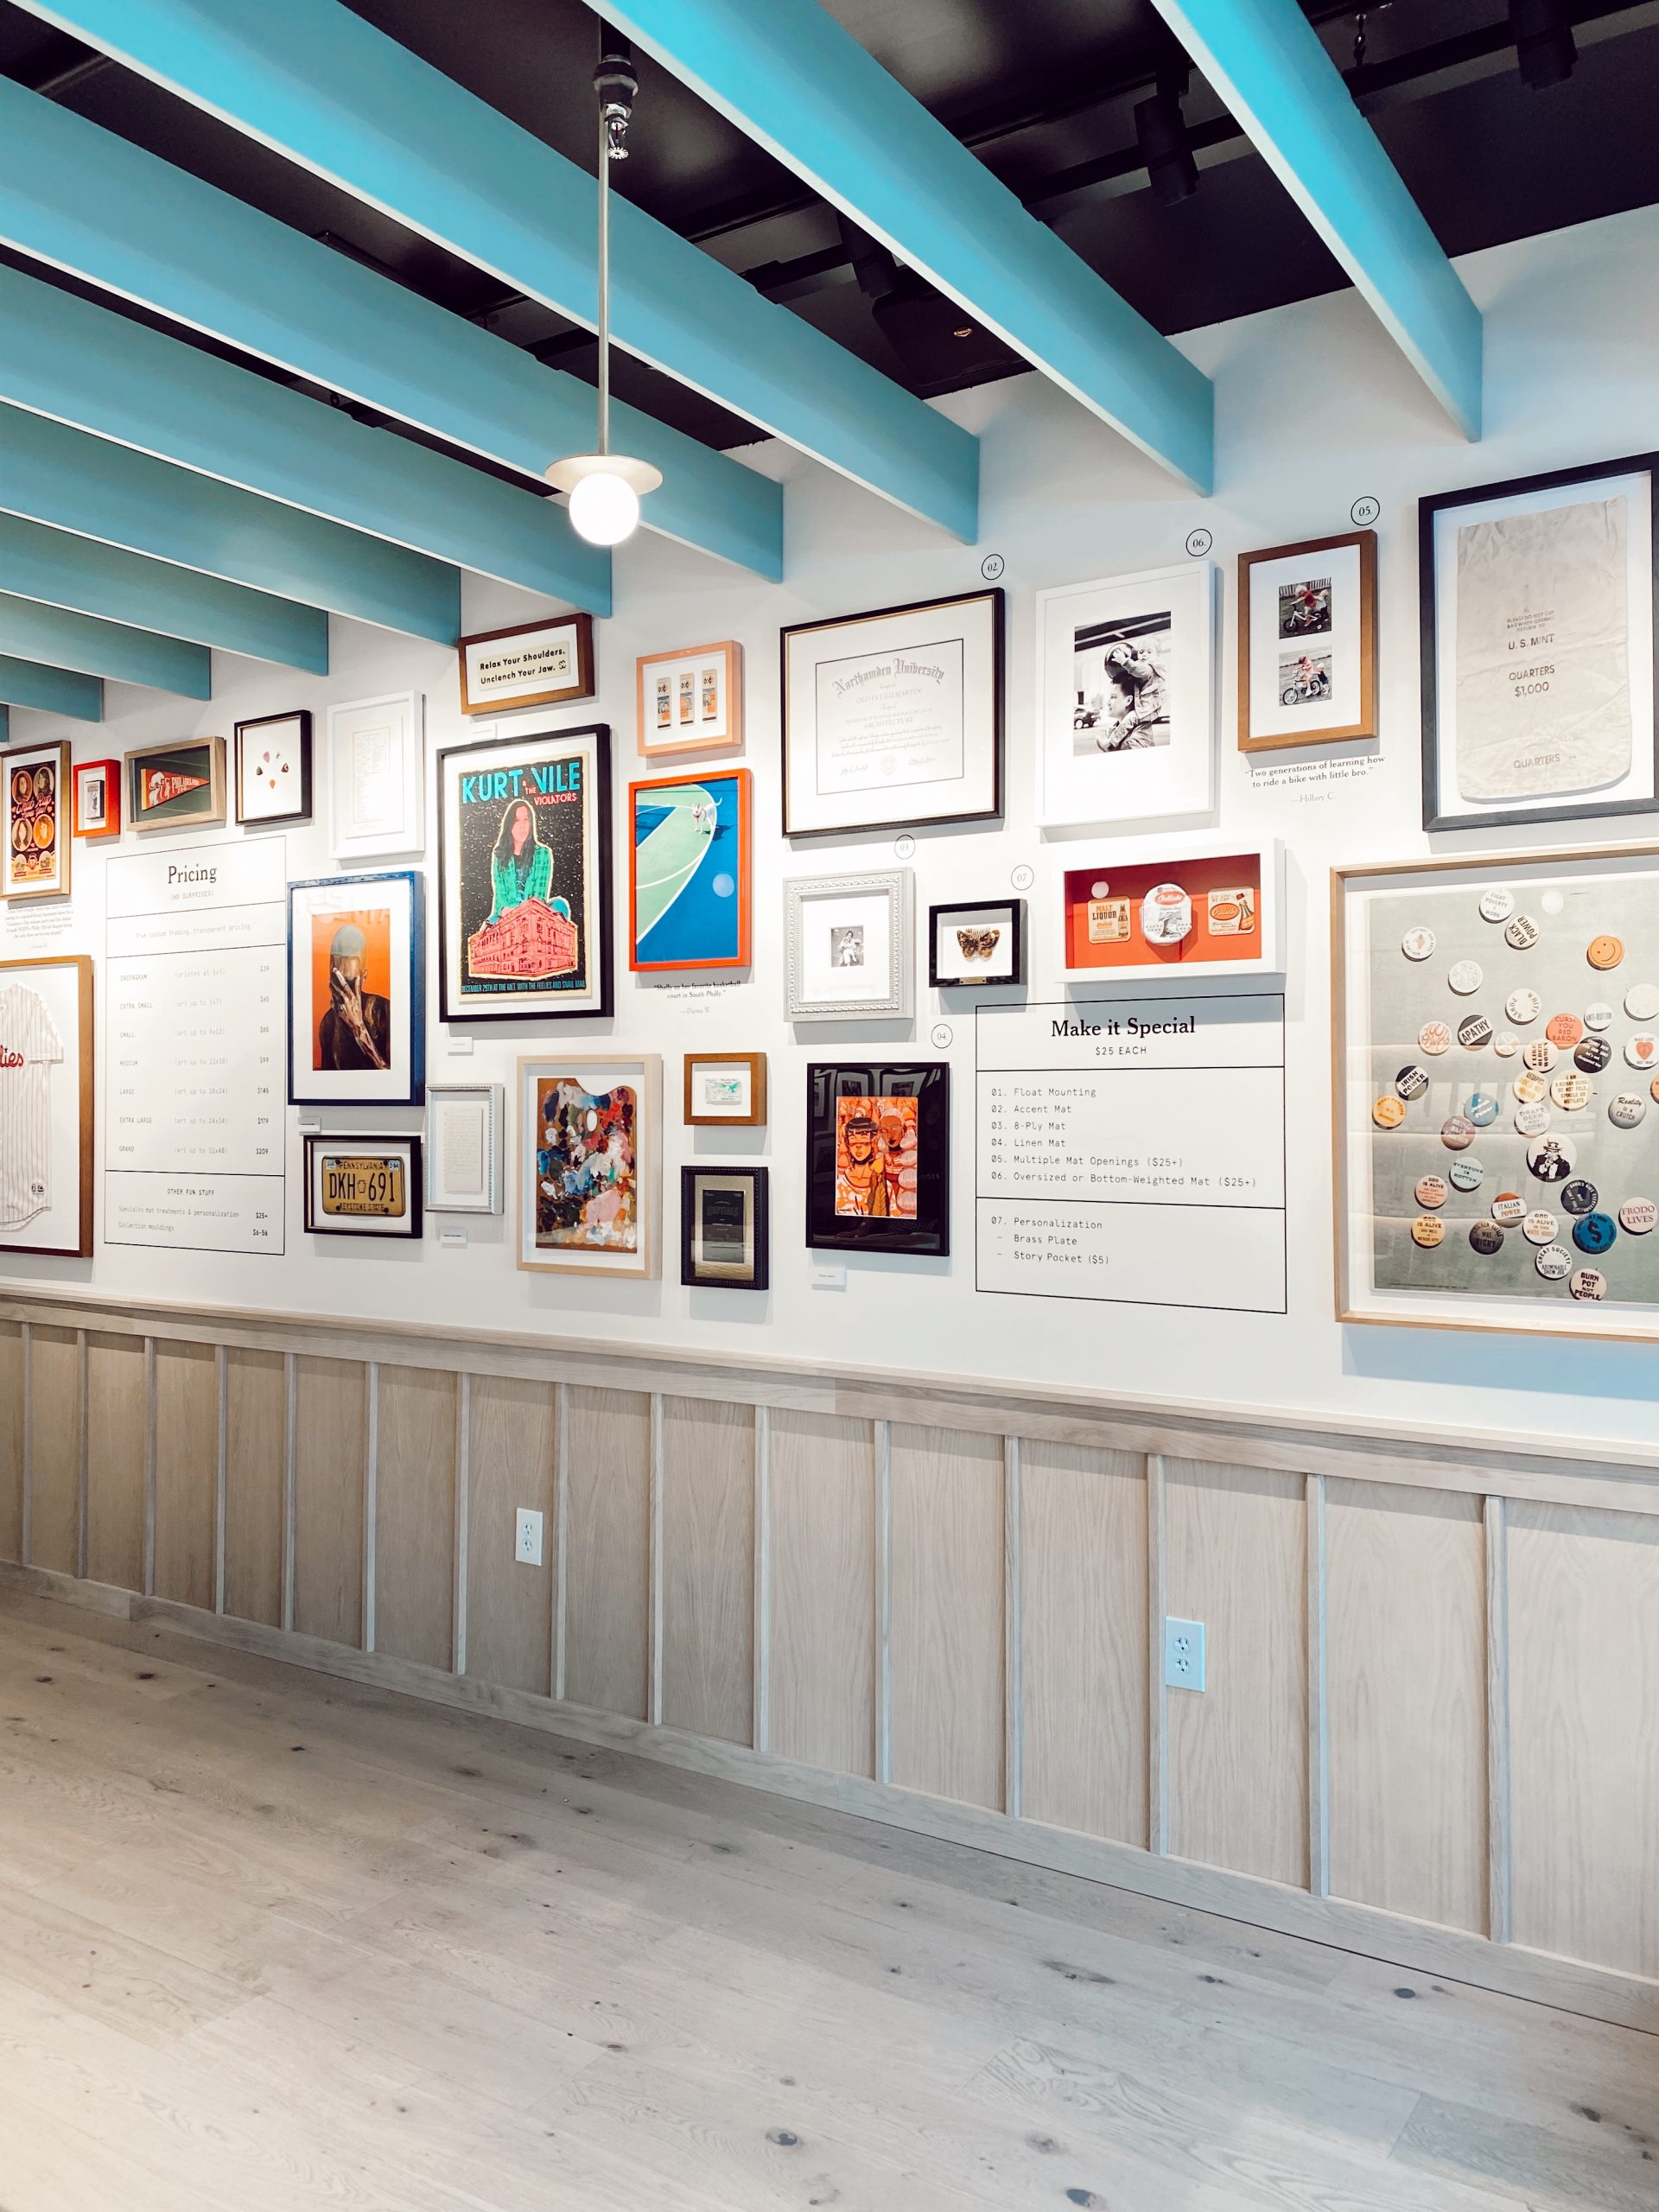
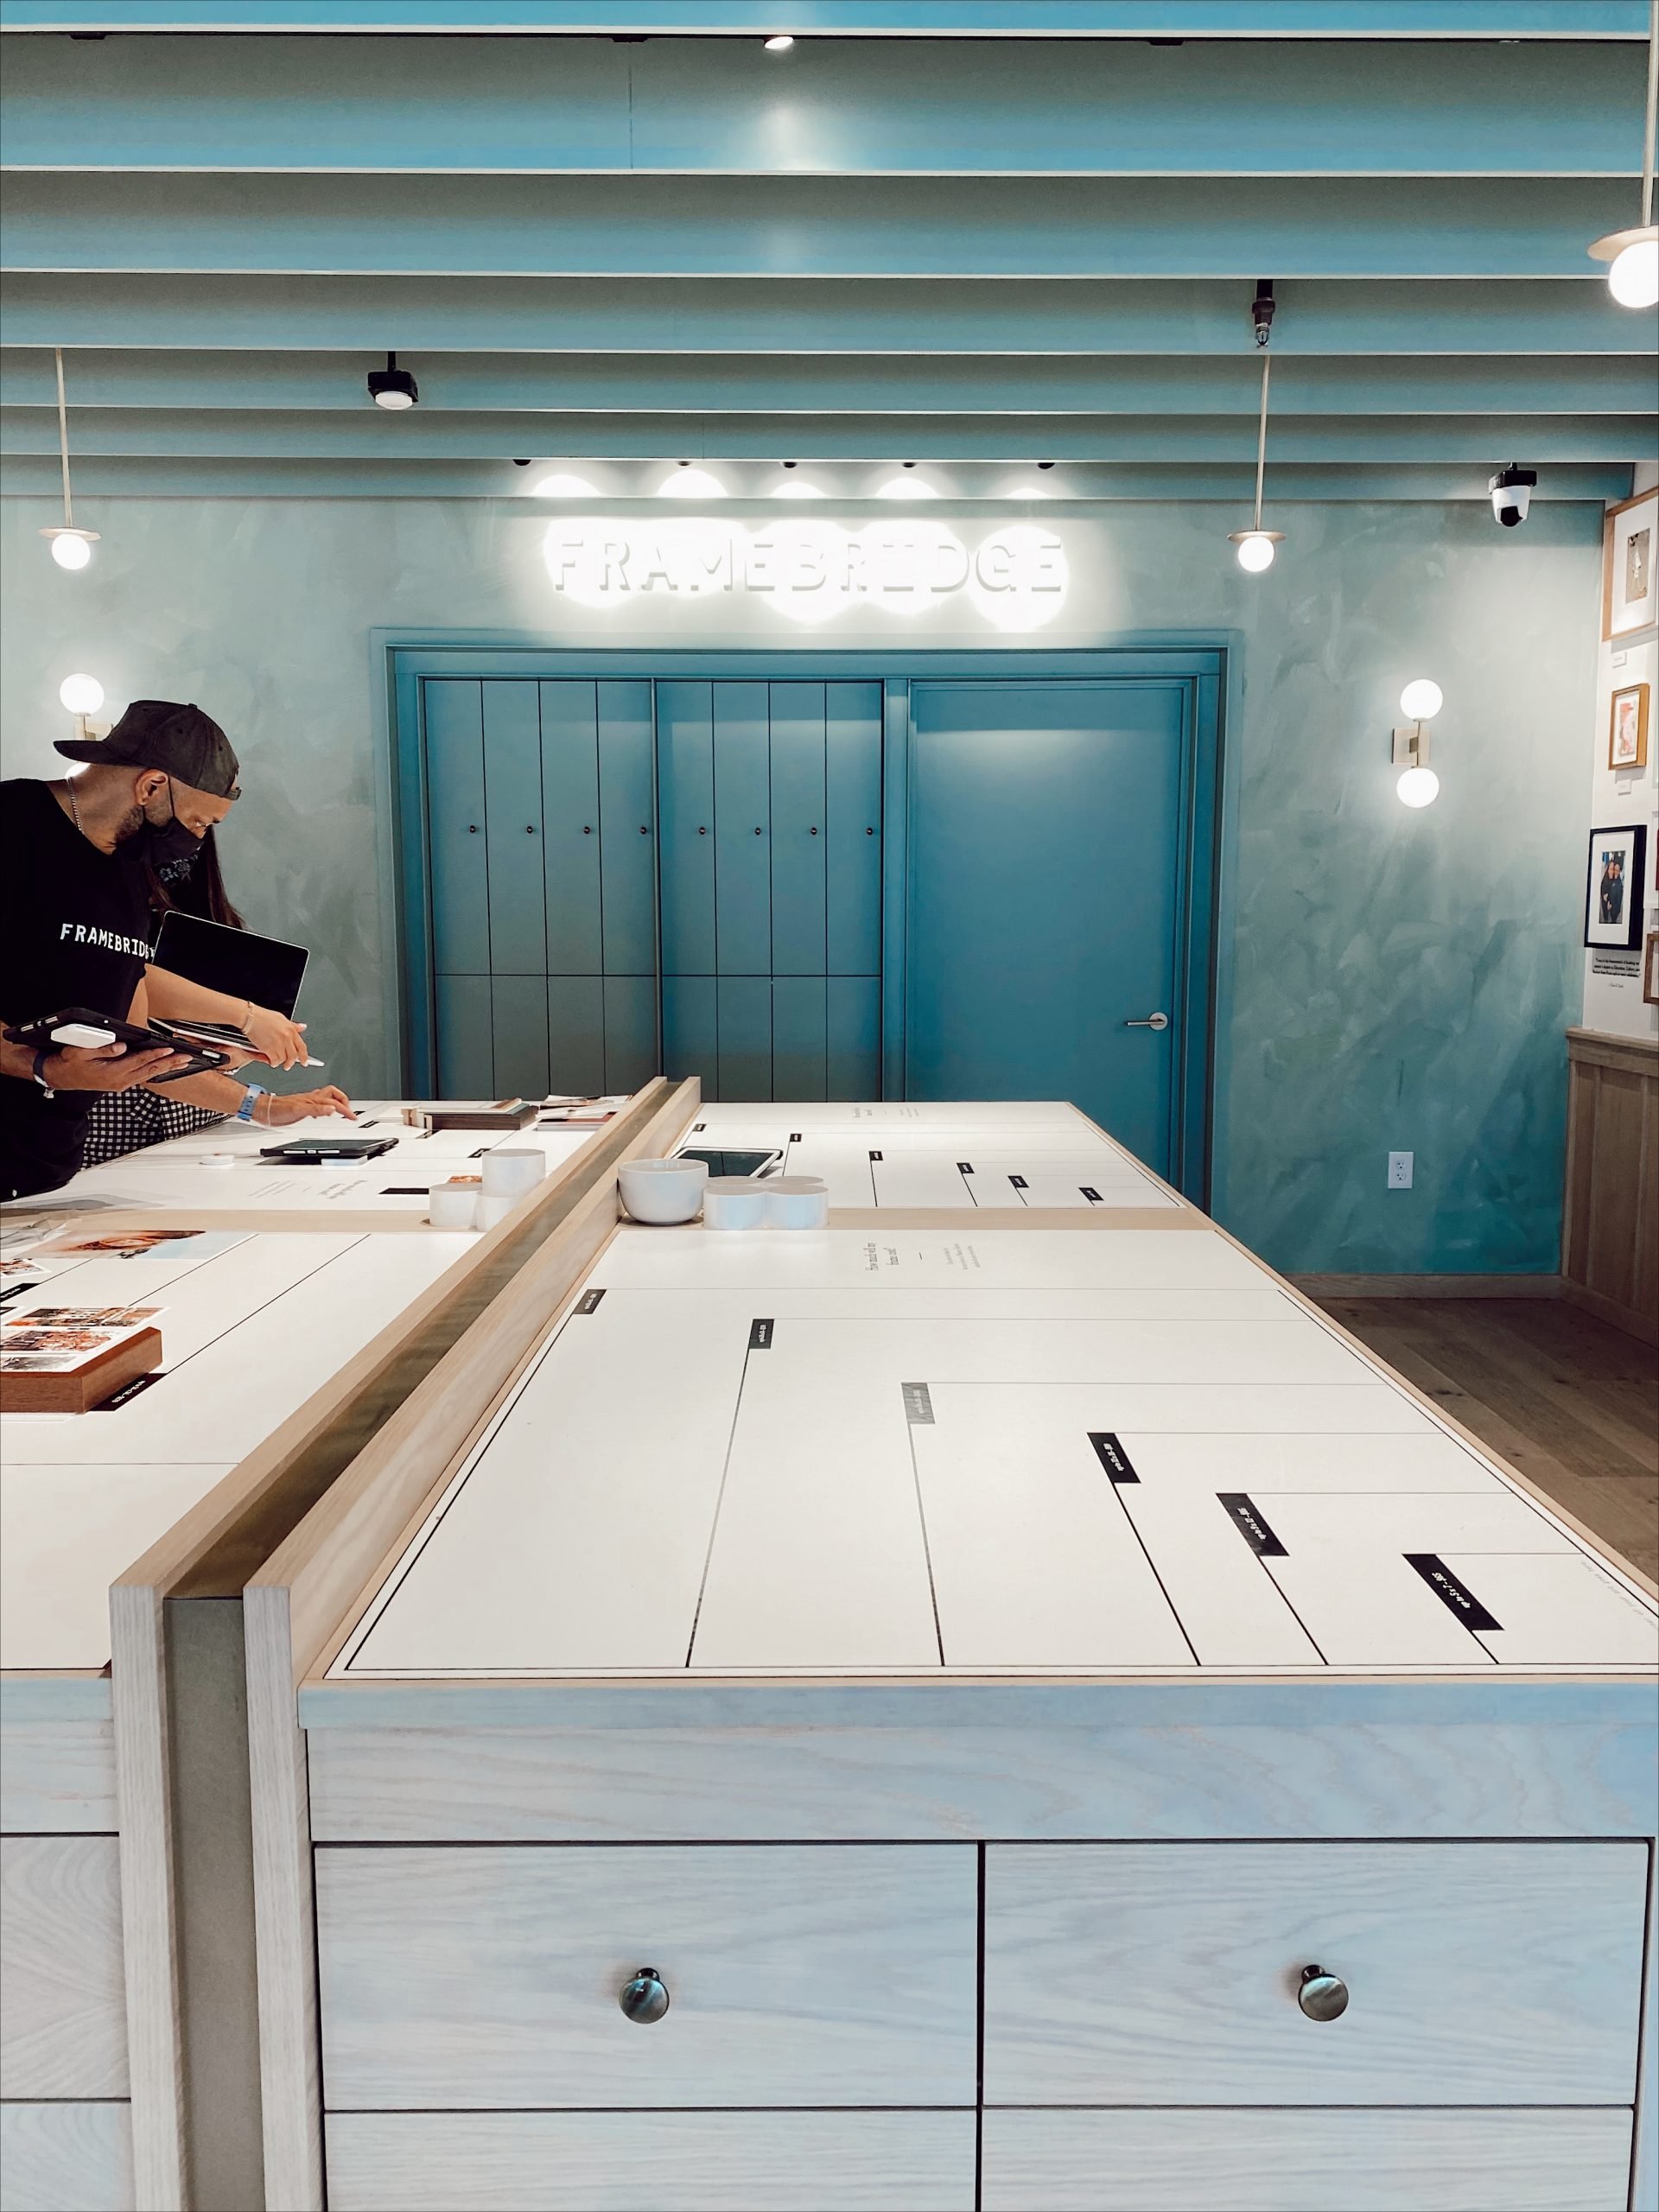
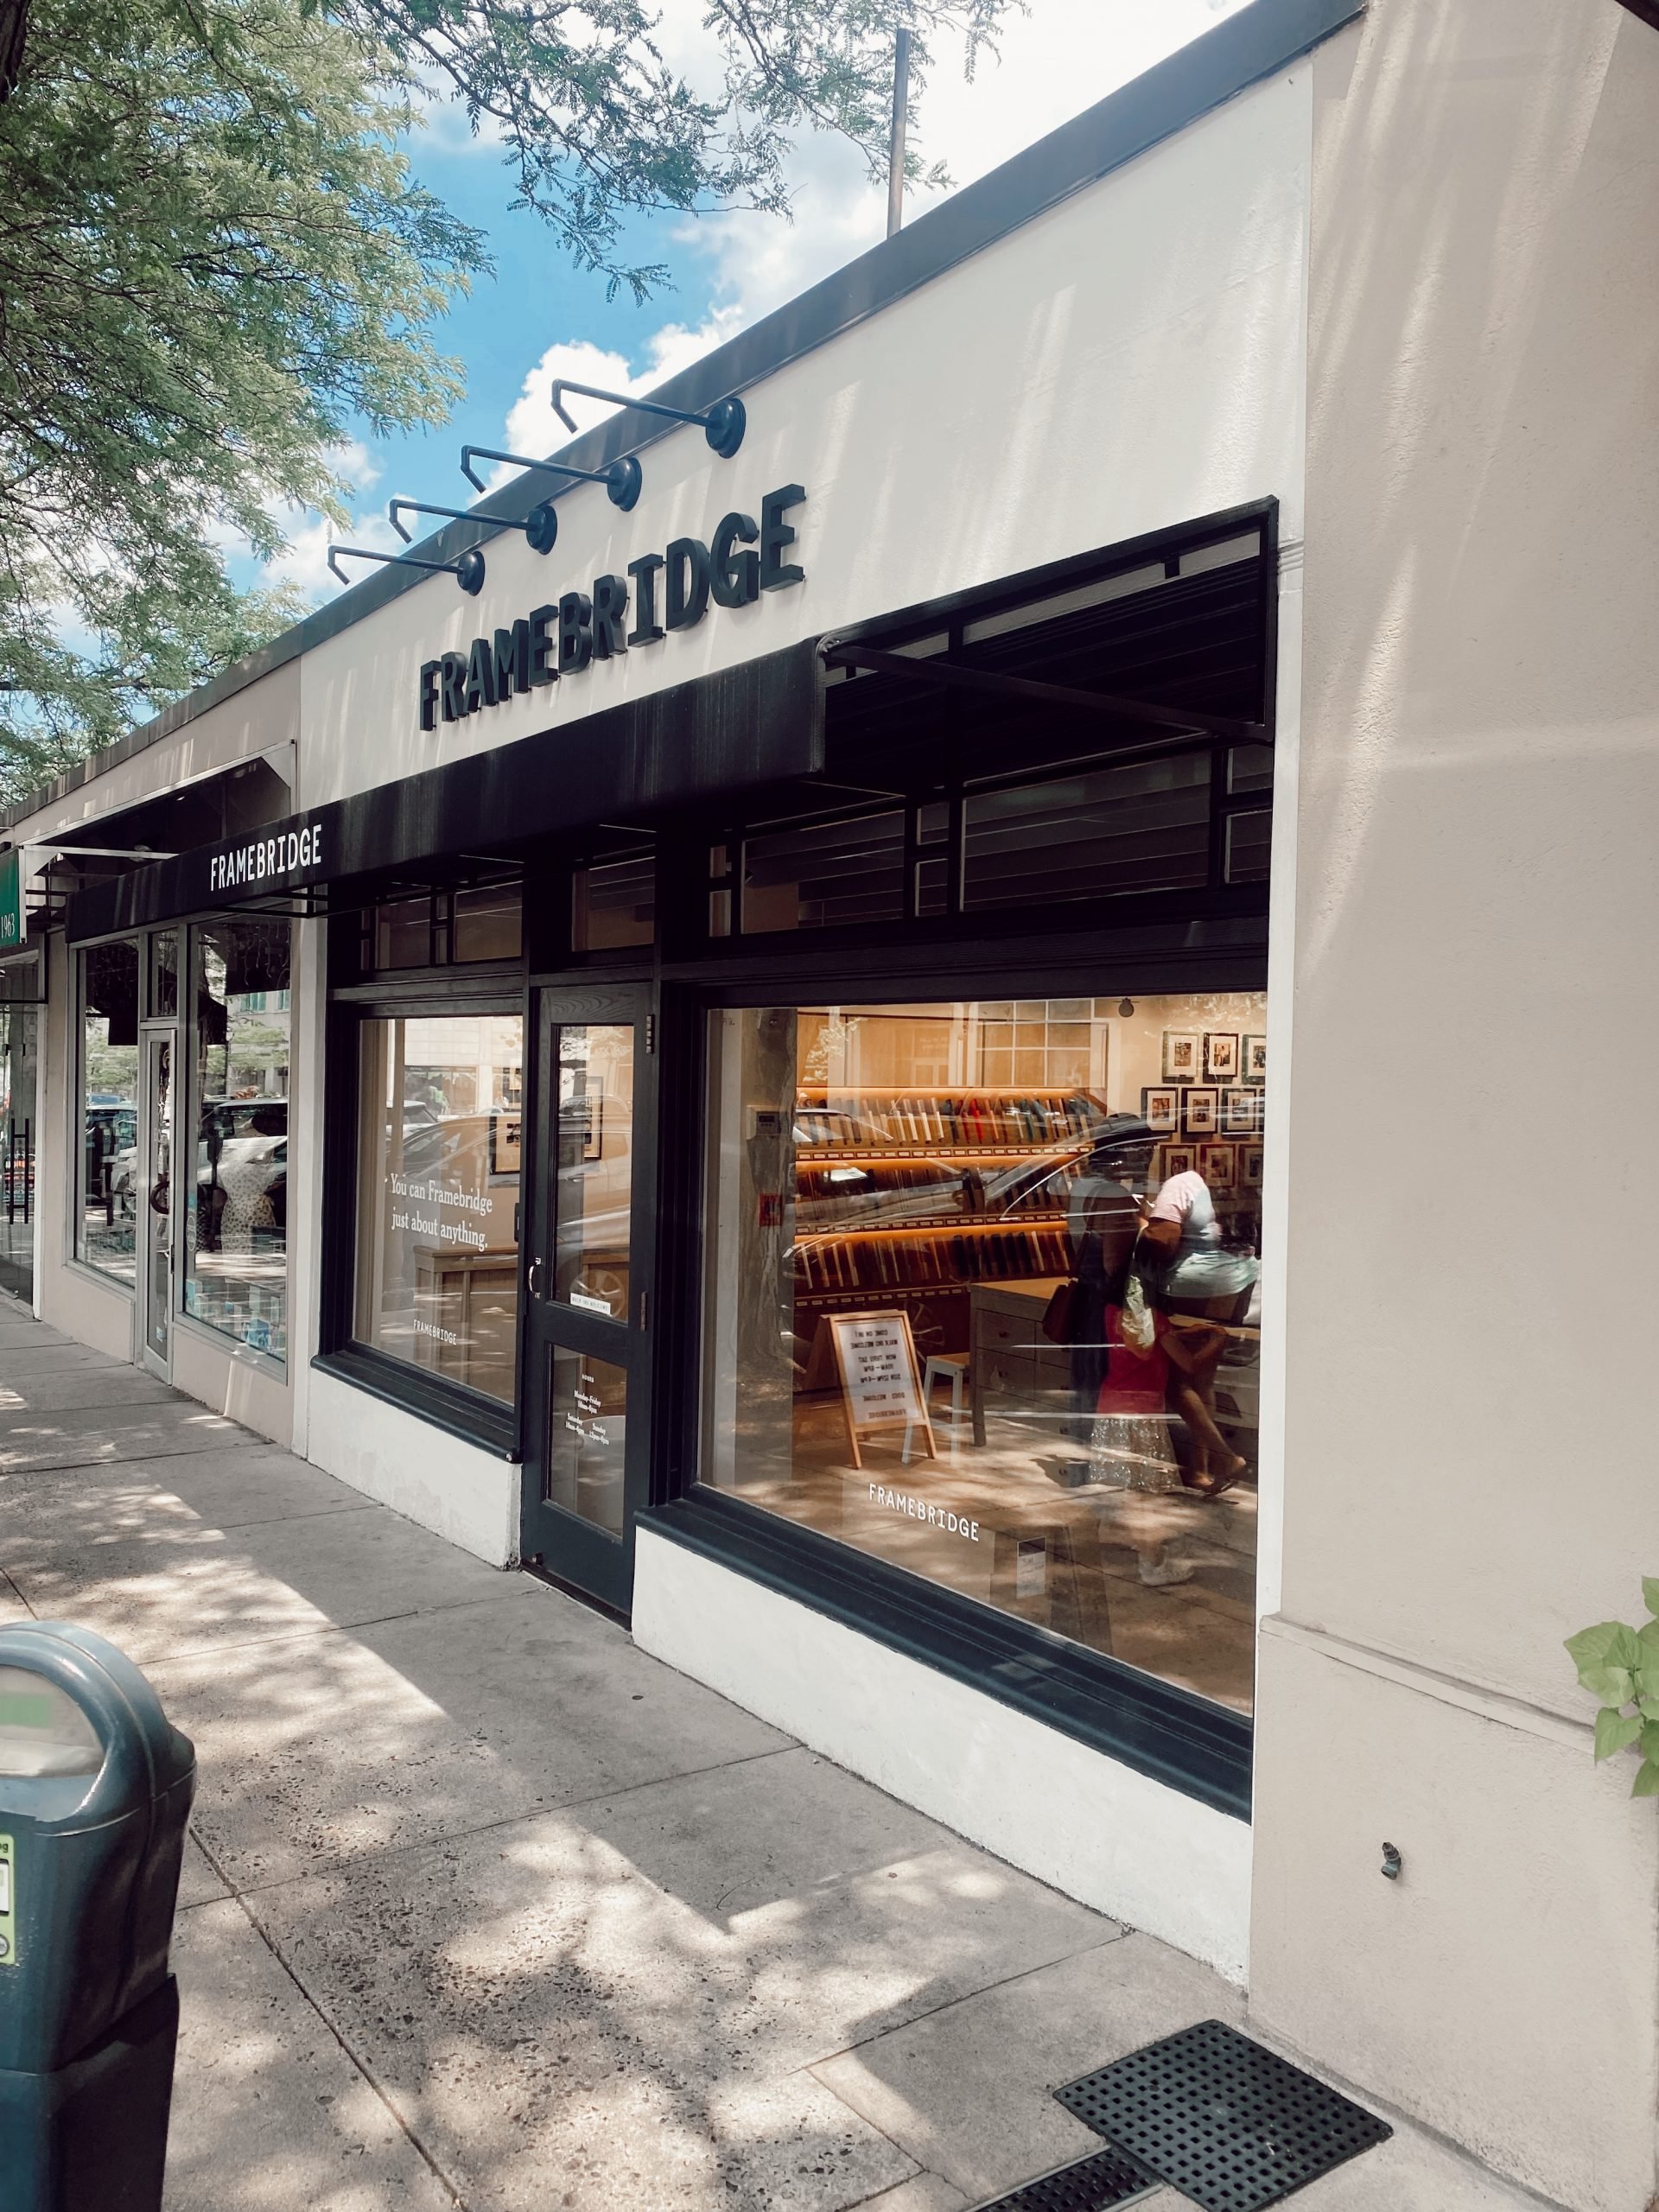
The Framebridge Store at Suburban Square in Ardmore, PA is gorgeous with bright ideas and a friendly team.
After moving into our new home one of the challenges has been furnishing and decorating our new space. Our house is a blank canvas! We really wanted to make our home our own by hanging special memories, moments and our photography. I wanted to start with a gallery wall of family photos.
When Framebridge reached out about the news of their new Suburban Square location in Ardmore, I had to scoot over right away! I love the online experience but especially when it comes to being creative and collaborating, in person is sometimes best.
This post will share with you how to create a Framebridge Gallery Wall.
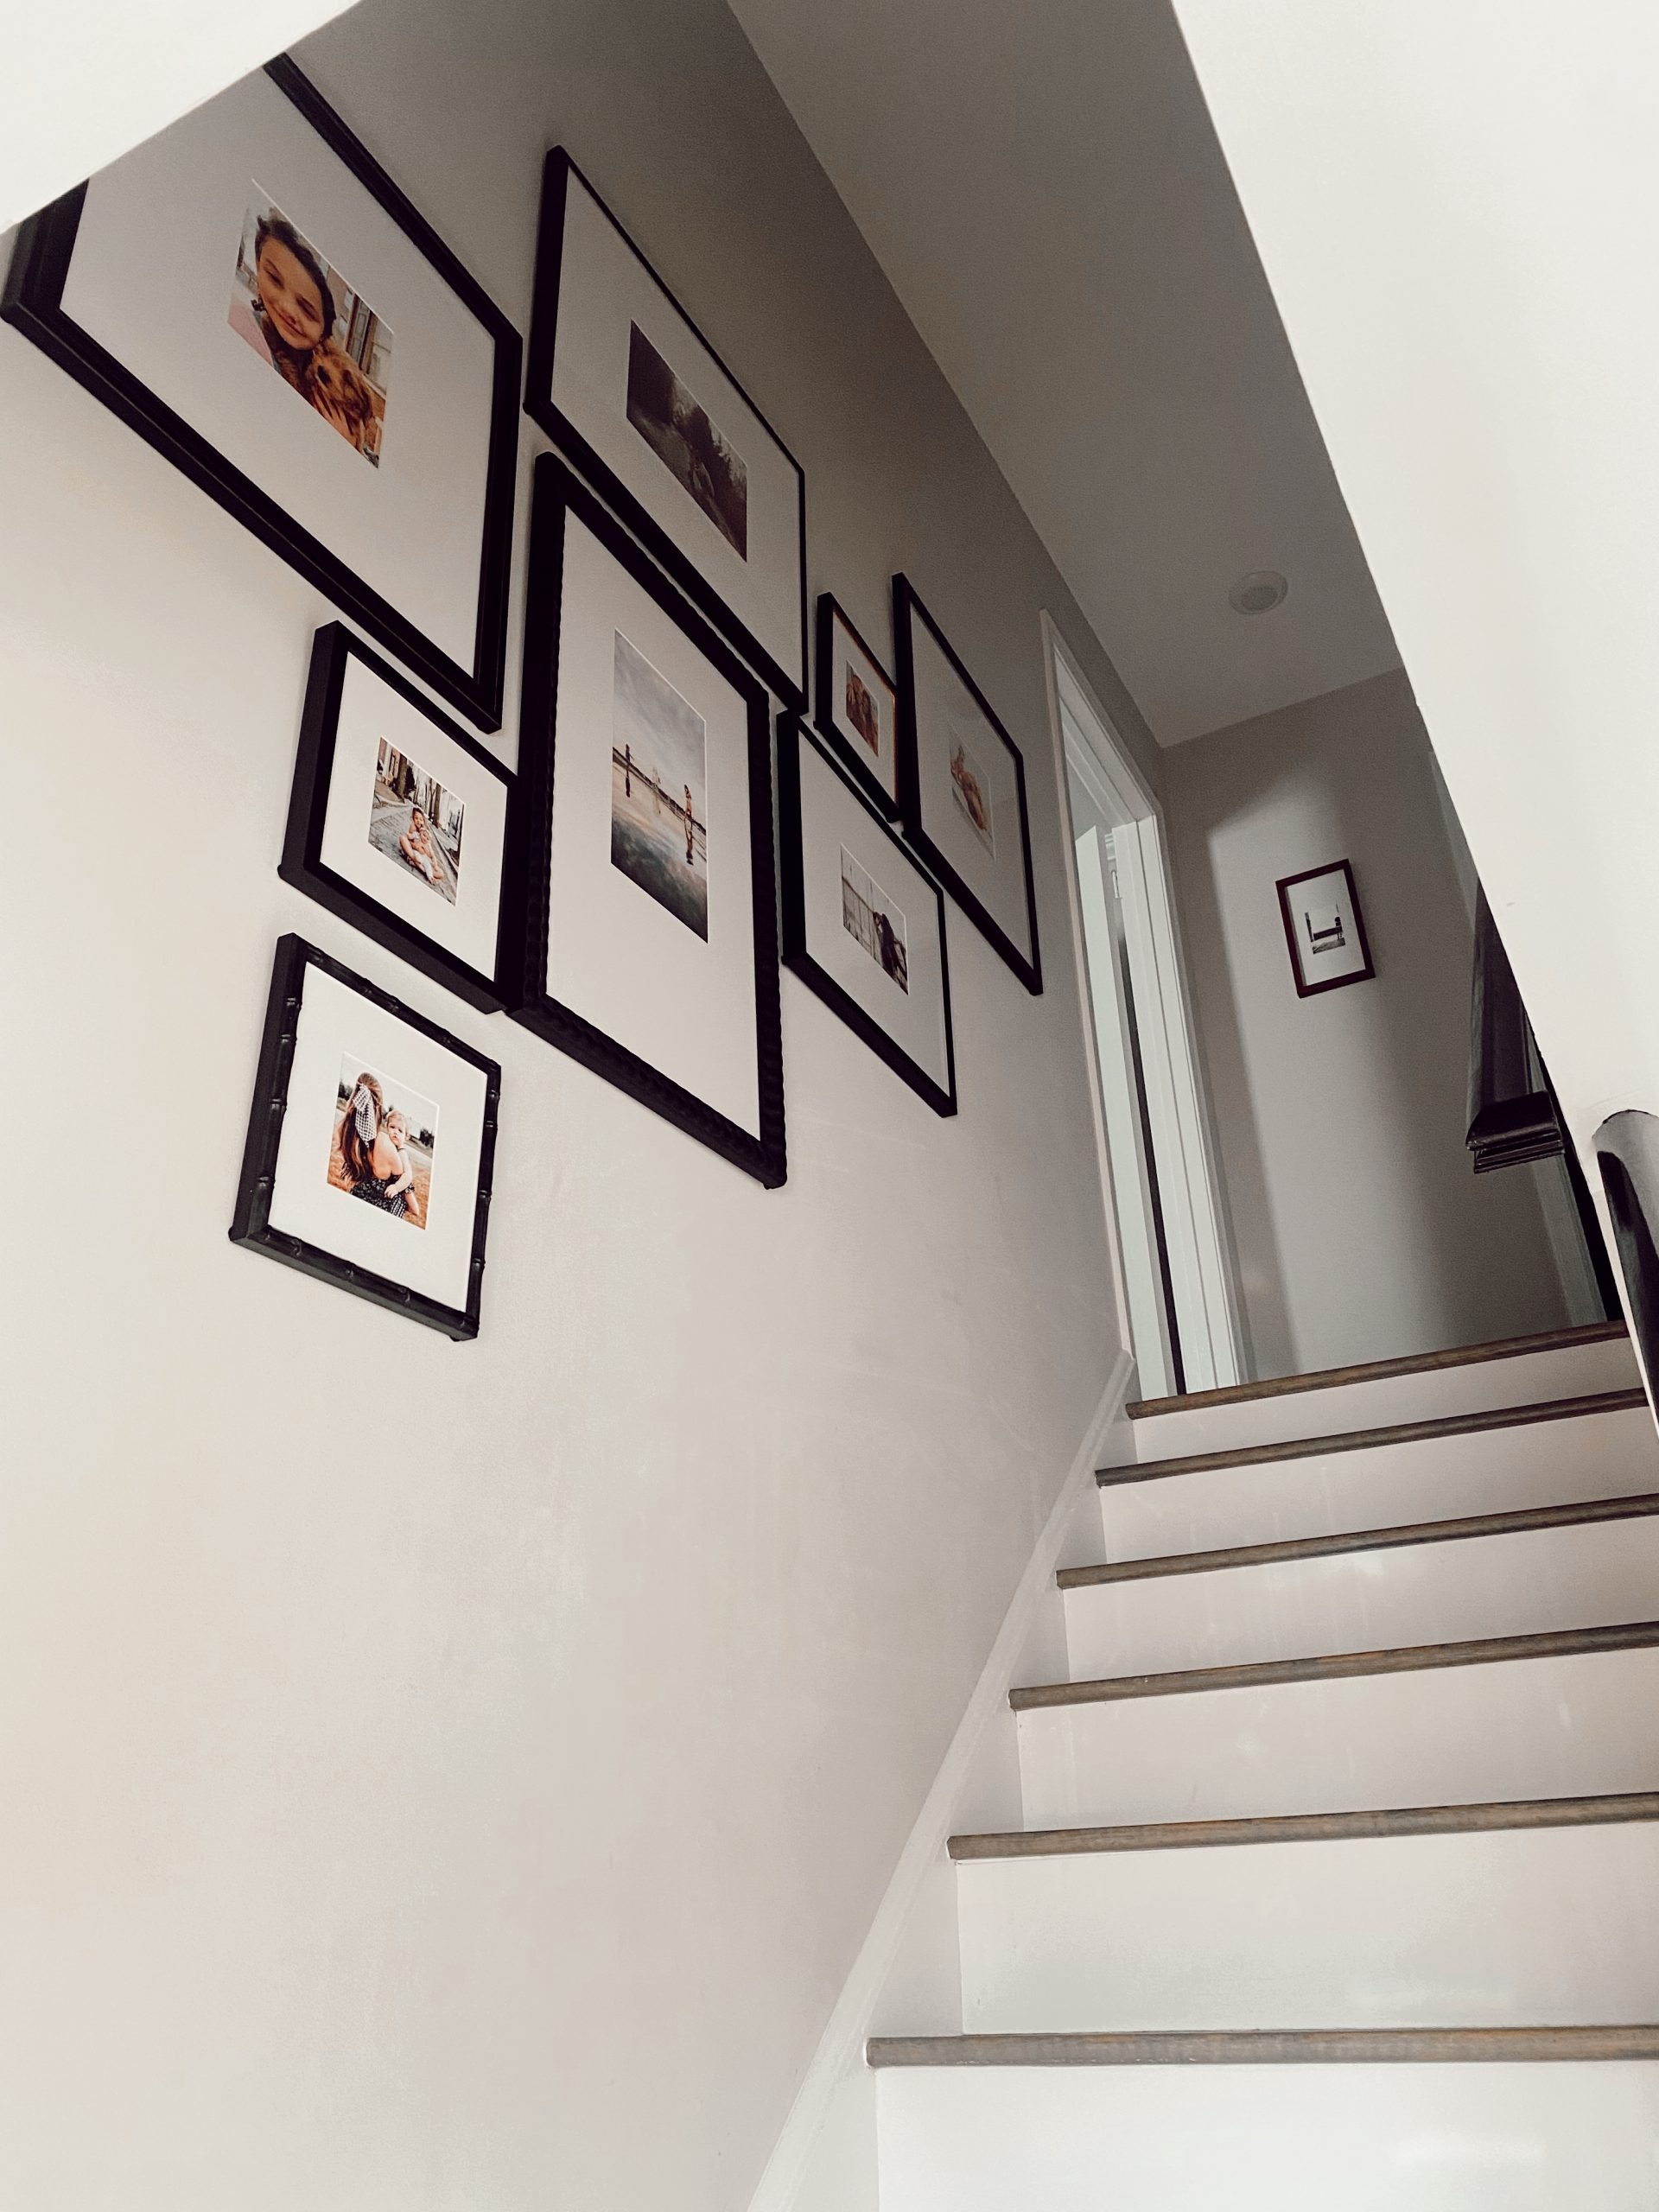
Creating a Framebridge Gallery Wall for our Staircase
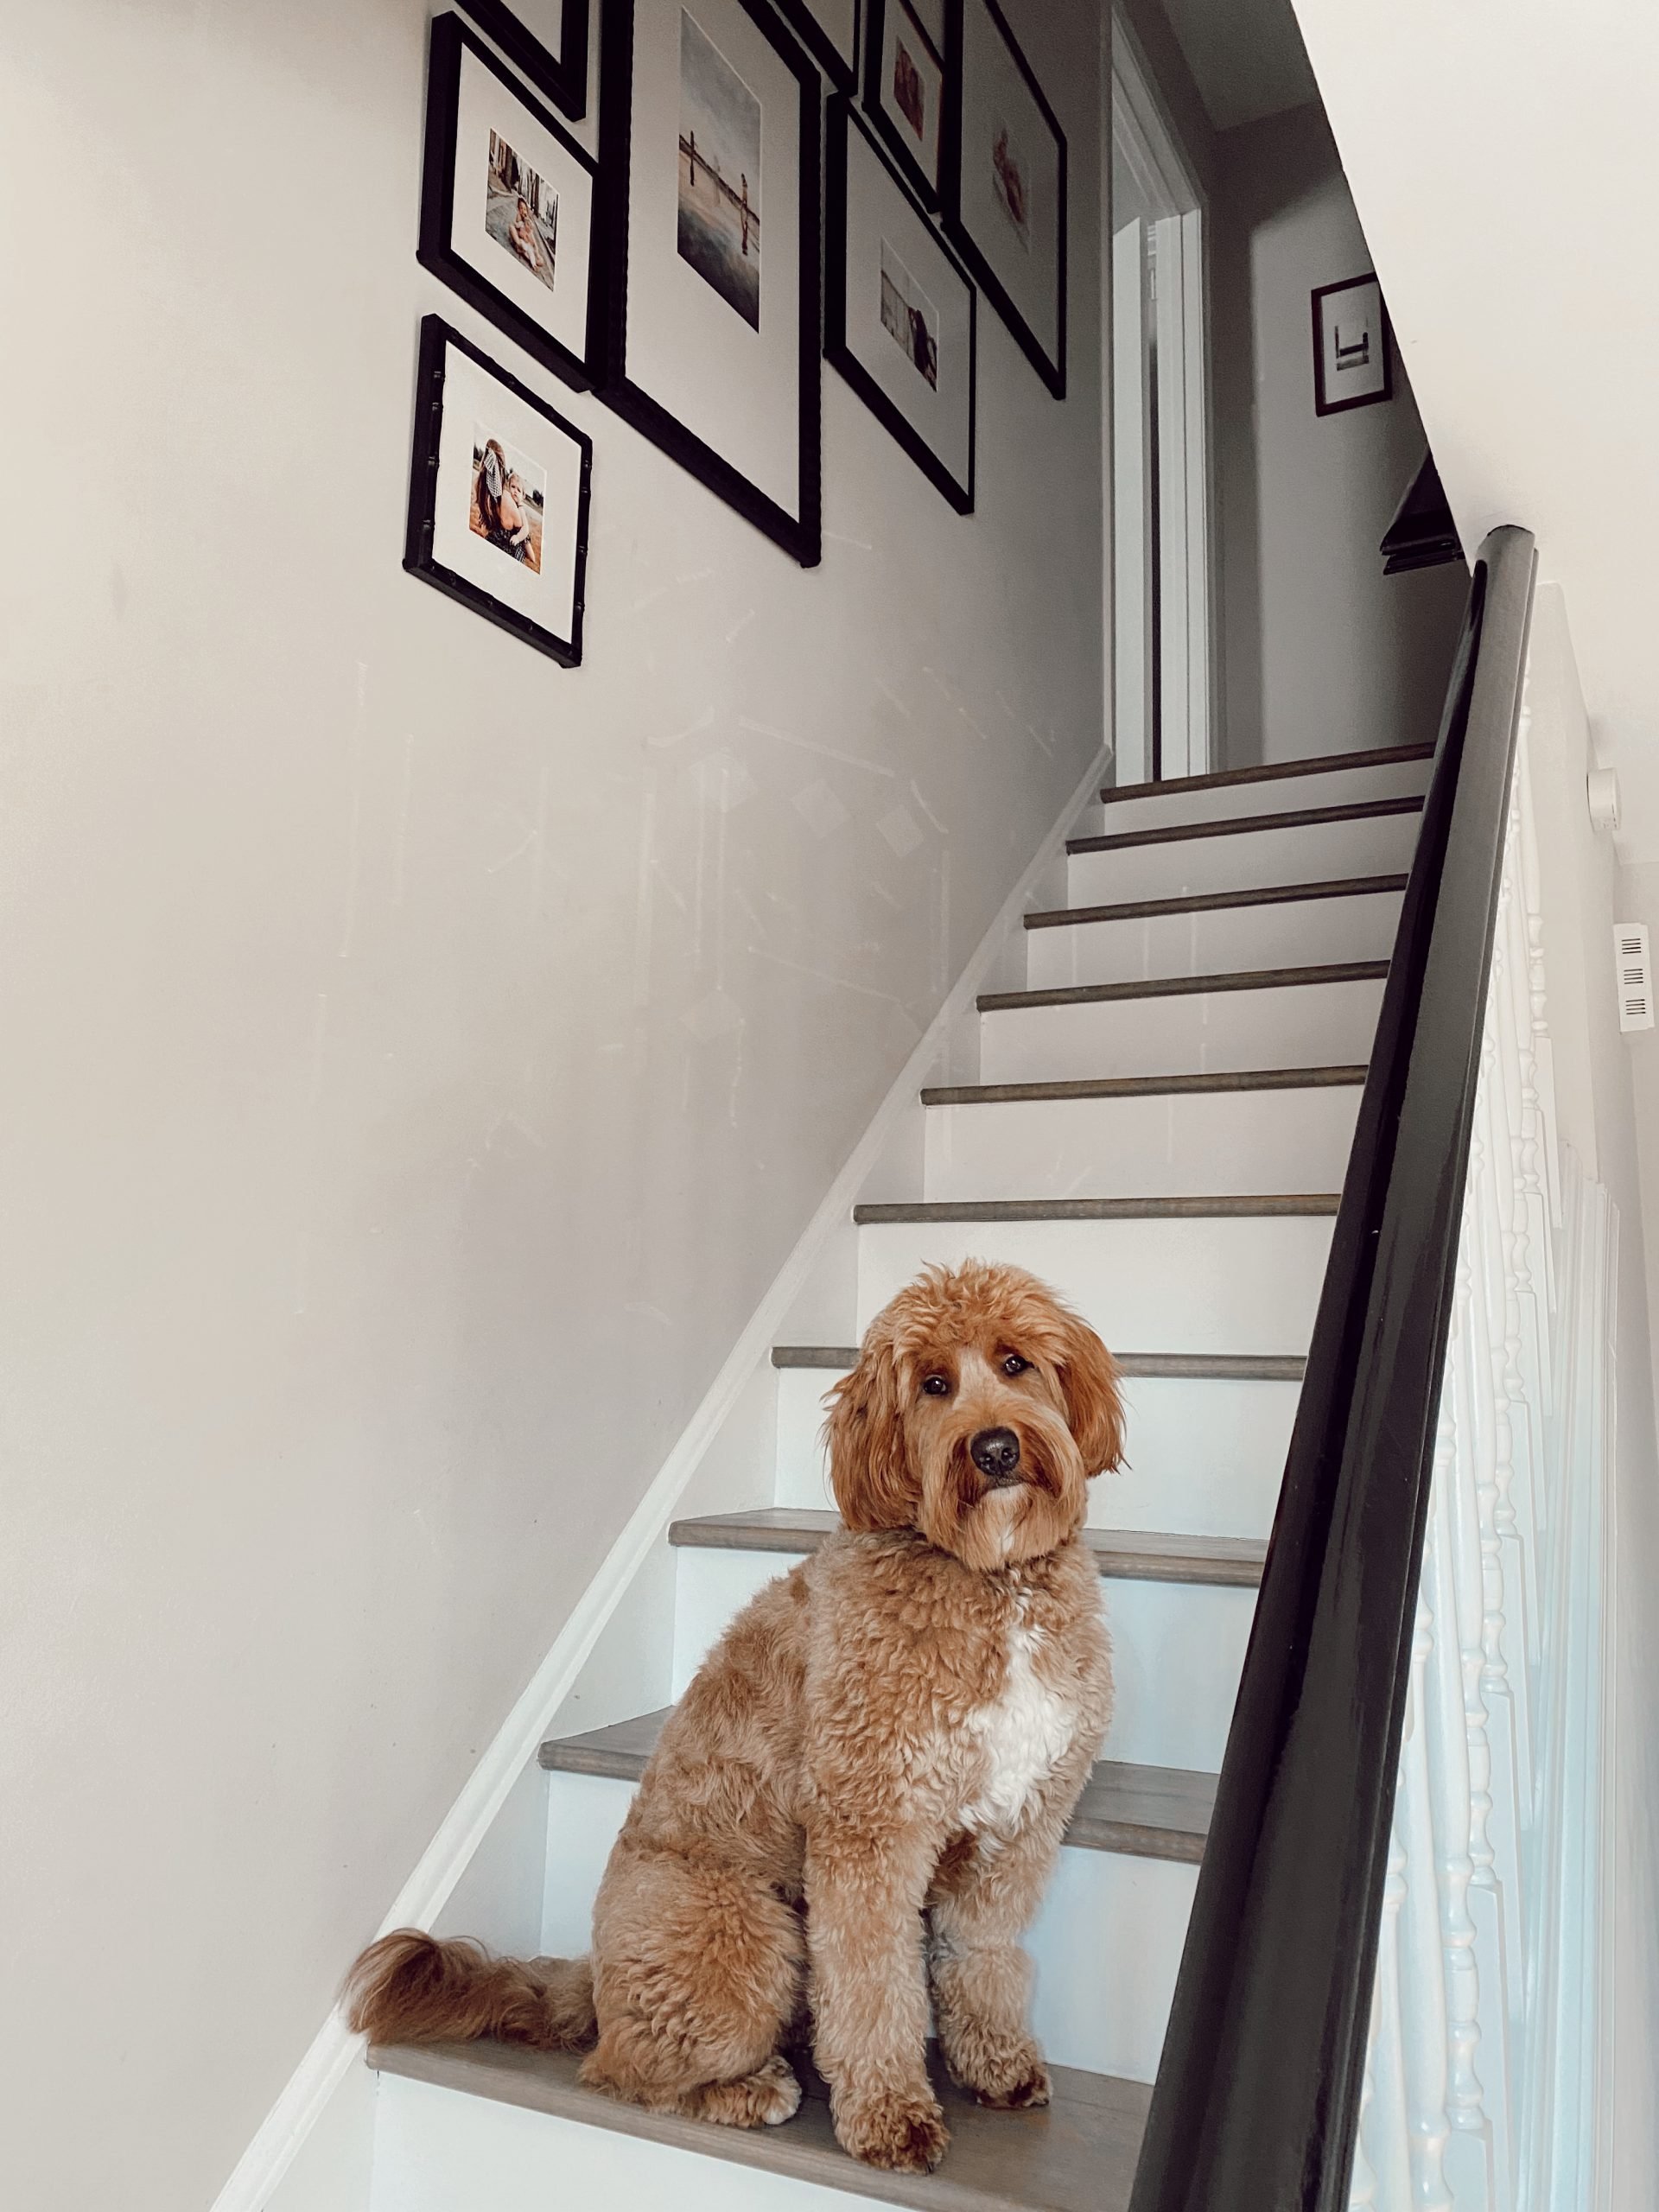
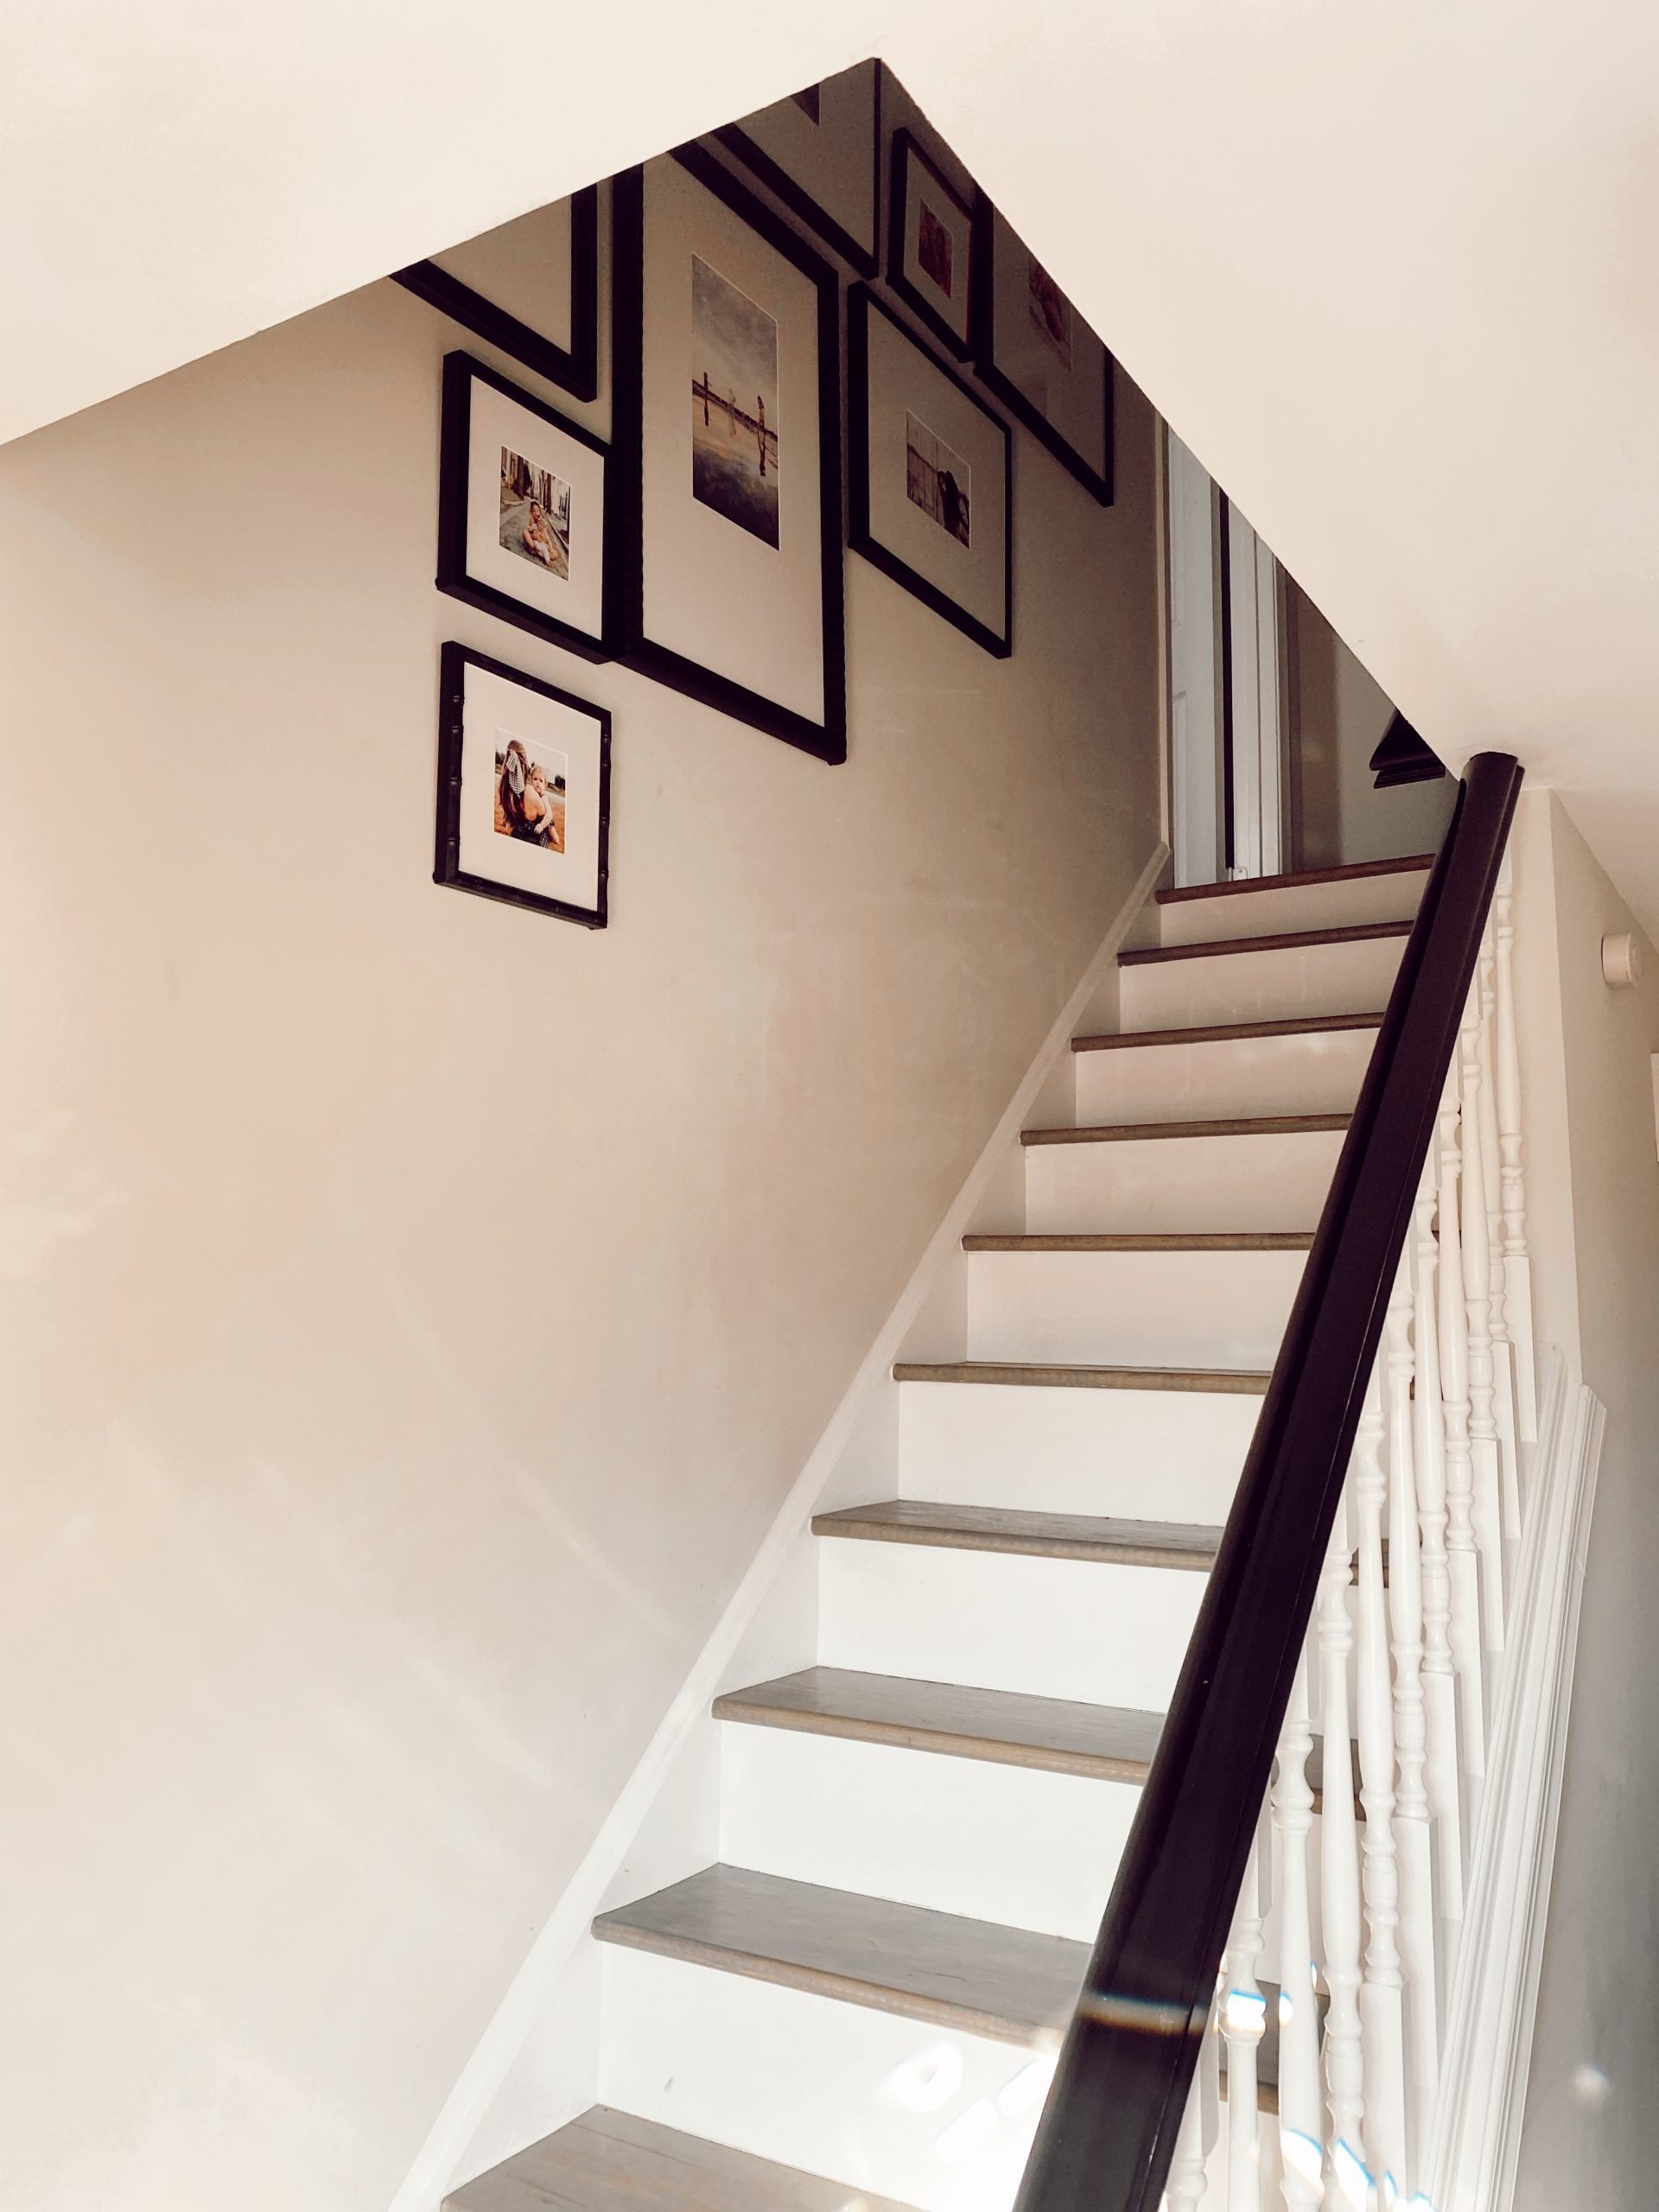
Our staircase has beautifully colored wooden steps and a large creamy slate colored wall. (I have to find the paint color!) It was the perfect space for a gallery wall of family photos. It was a bit overwhelming to think of what sizes we needed because the space was so large and how on earth we would arrange the photos at an angle.
After shopping gallery walls on the Framebridge site, I saw that the Framebridge Up the Stairs Gallery Wall was the perfect option.
Be sure to also check out Farmhouse Style Dining Chairs.
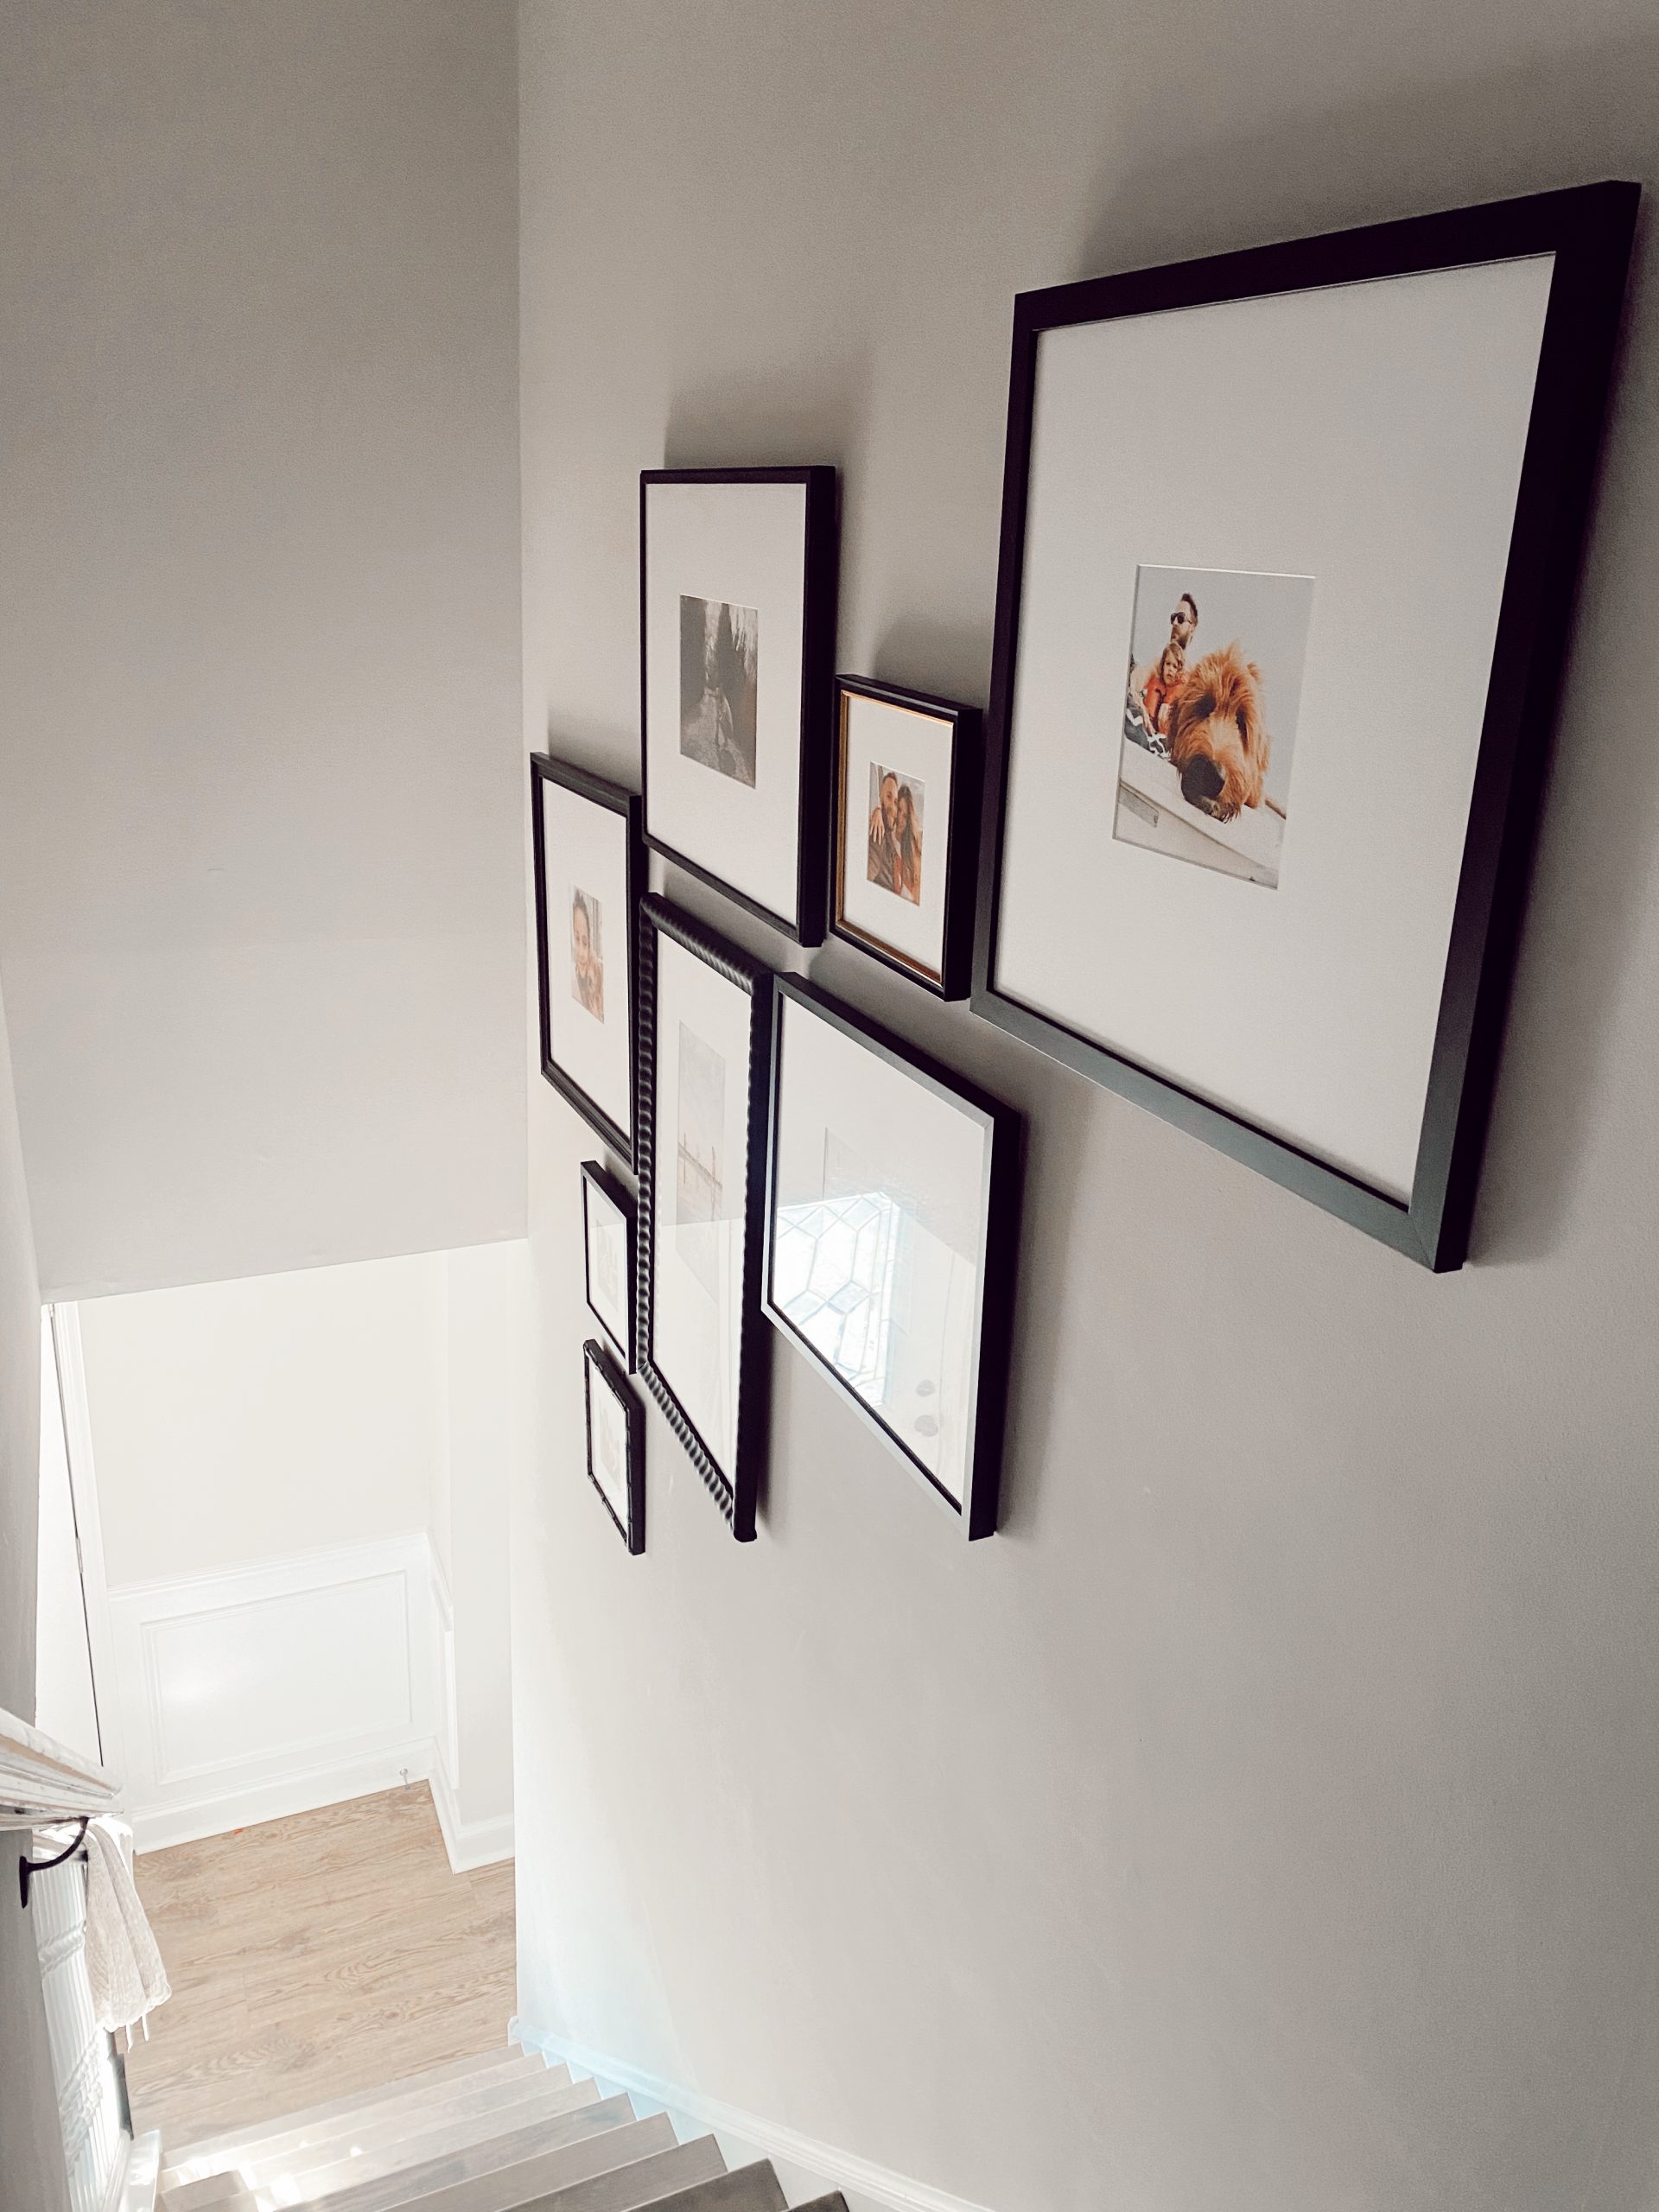
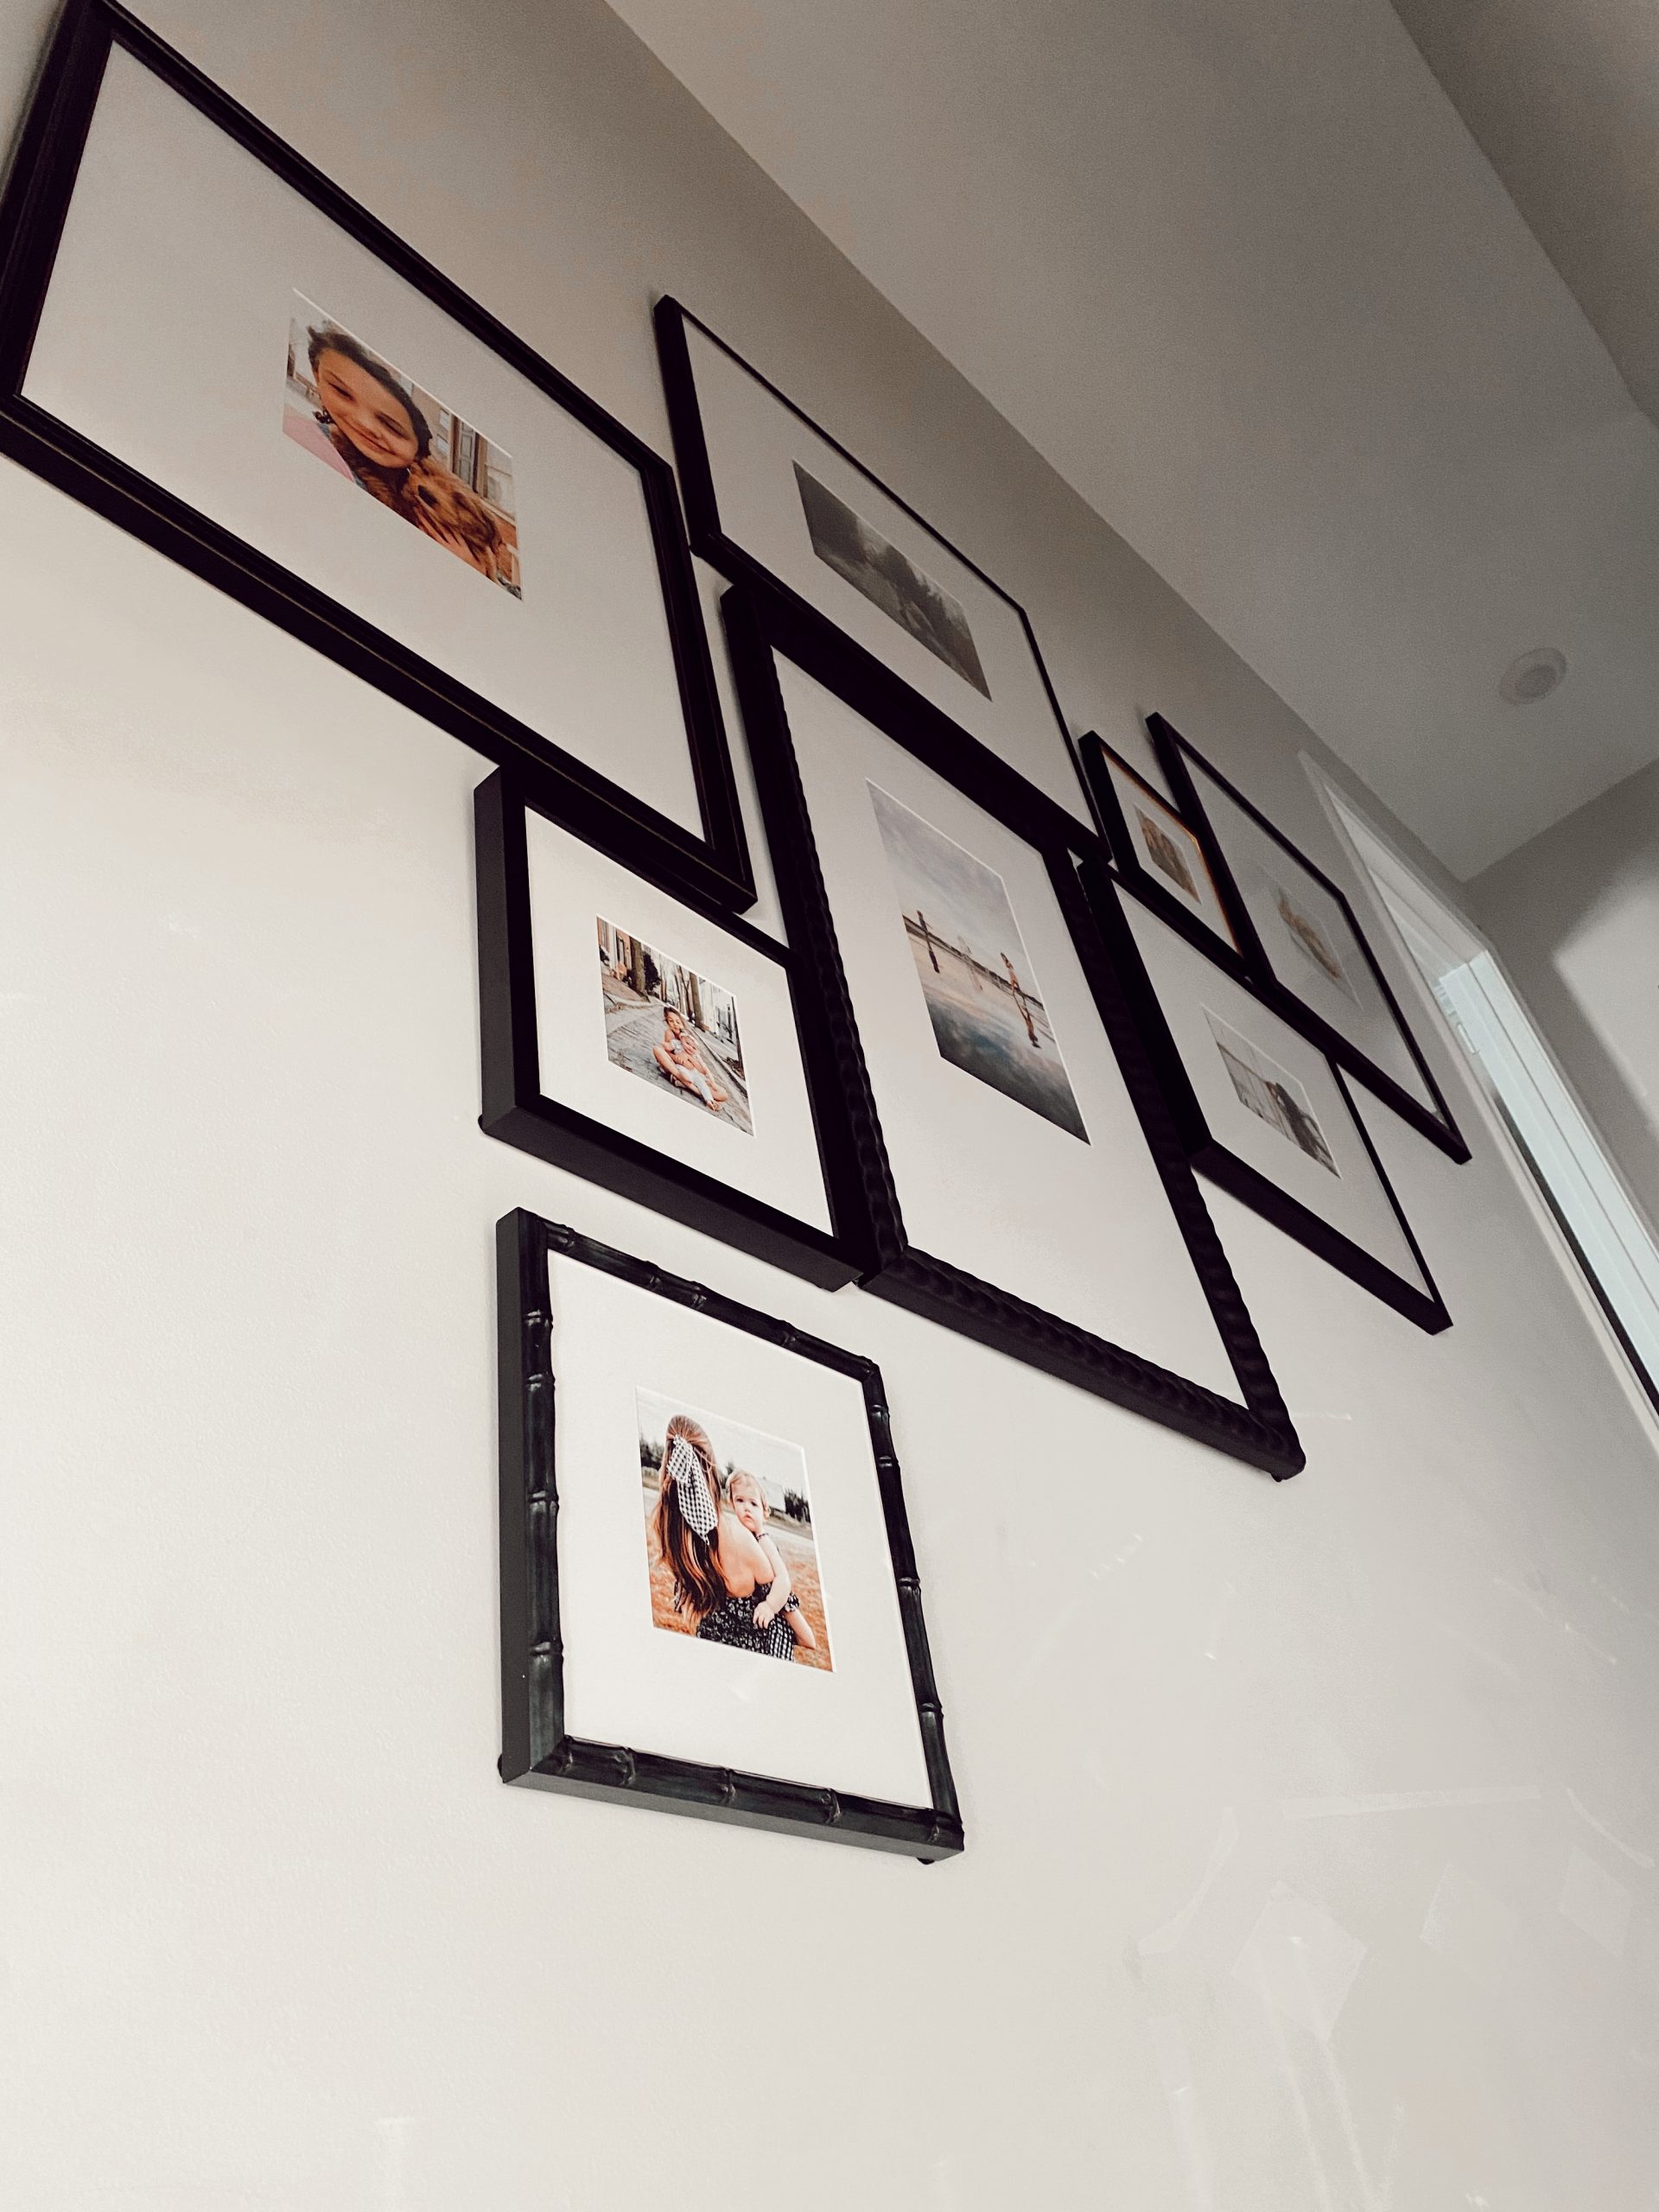
I chose the black frames with large white mats. Each of the frames has a different texture and the came together beautifully. I also love the Framebridge Up the Stairs Gallery Wall in “Colorful Eclectic”. It offers such fun shades for creative photos, artwork or other memories.
It was easy to upload photos or bring them to the store for the frames to be put together.
Be sure to also check out Tips for Installing Peel and Stick Wall Paper
How to Install the Framebridge Gallery Wall
The good news is I can keep this section short and sweet as Framebridge makes it super super easy to bring your gallery wall to life. The Gallery Wall arrived with all the hardware needed. All we needed was a hammer, some wall-safe tape and a level.
The giant diagonal hanging guide is LIFE. To start, we opened the hanging guide and placed the hanging guide on the floor. Then we placed all the photos in the order we wanted so we knew where they would go once the nails were in.
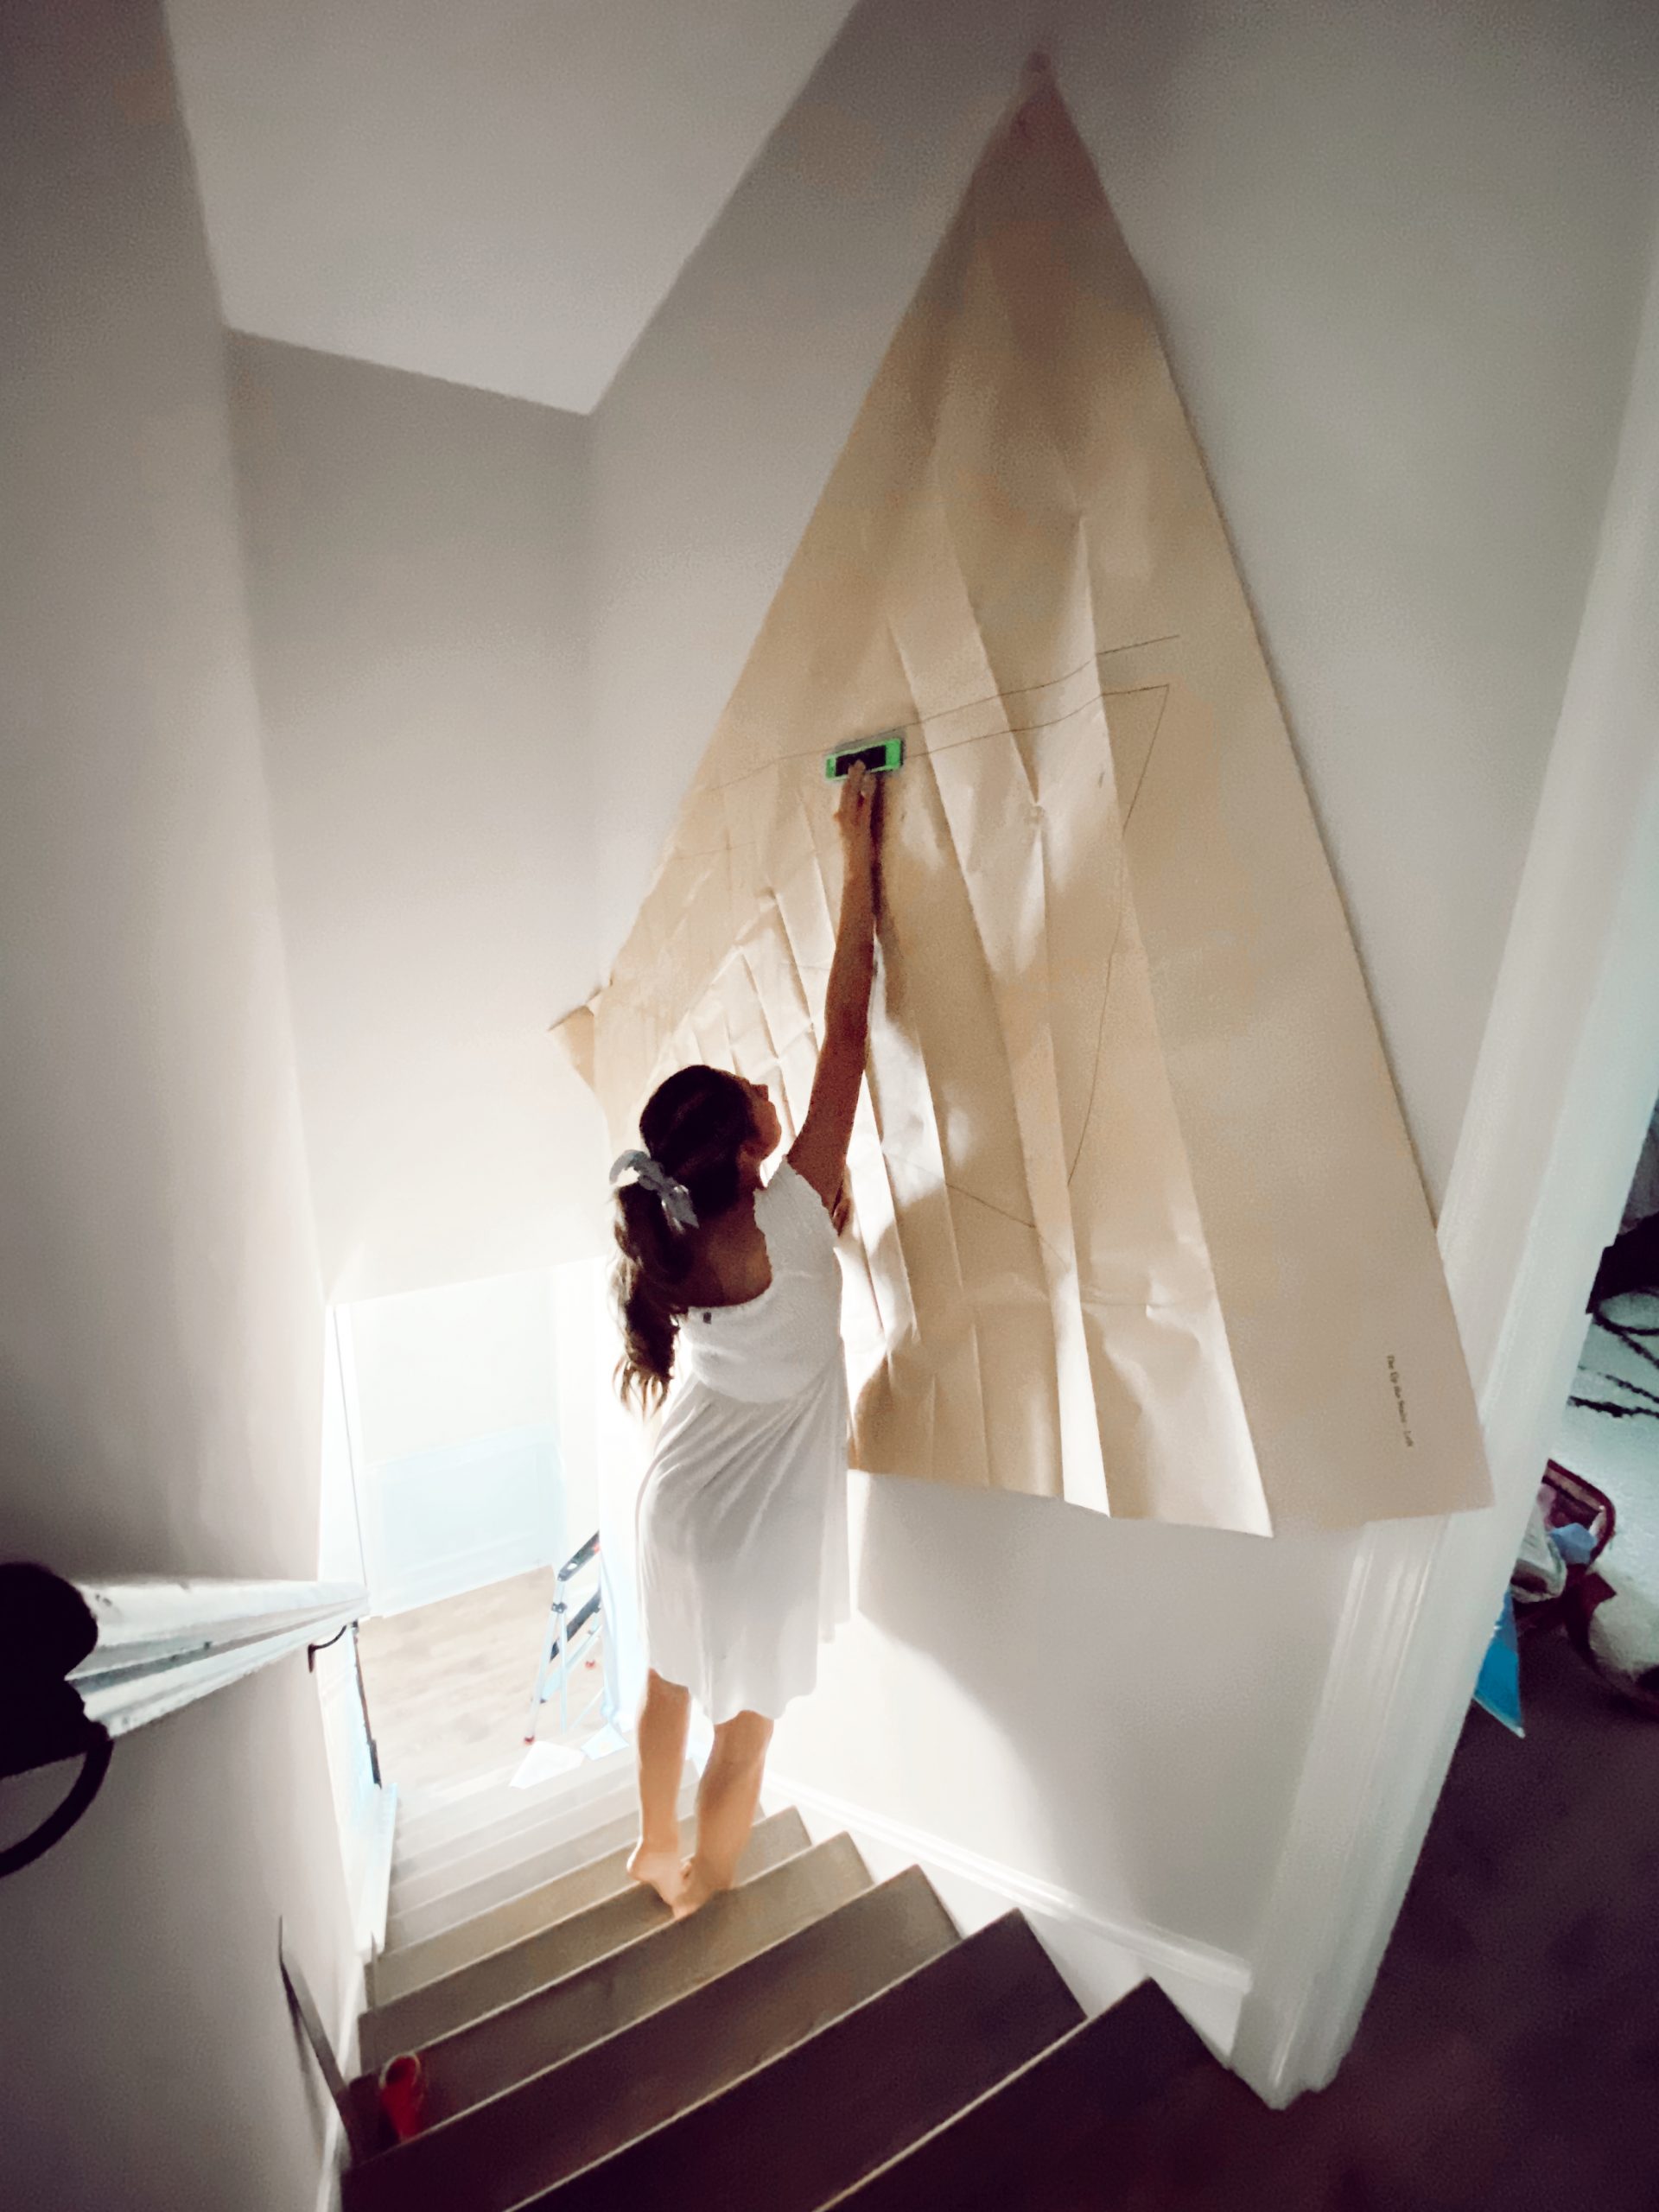
We attached the hanging guide to the wall with wall safe tape. From there it was bulletproof of where to place the hooks and nails. We got most in with ease but the super high ones we had to put our team work to use! Joey hoisted me up on his shoulders to get the job done.
If your bedroom is in need of a refresh check out this All White Bedding Update.
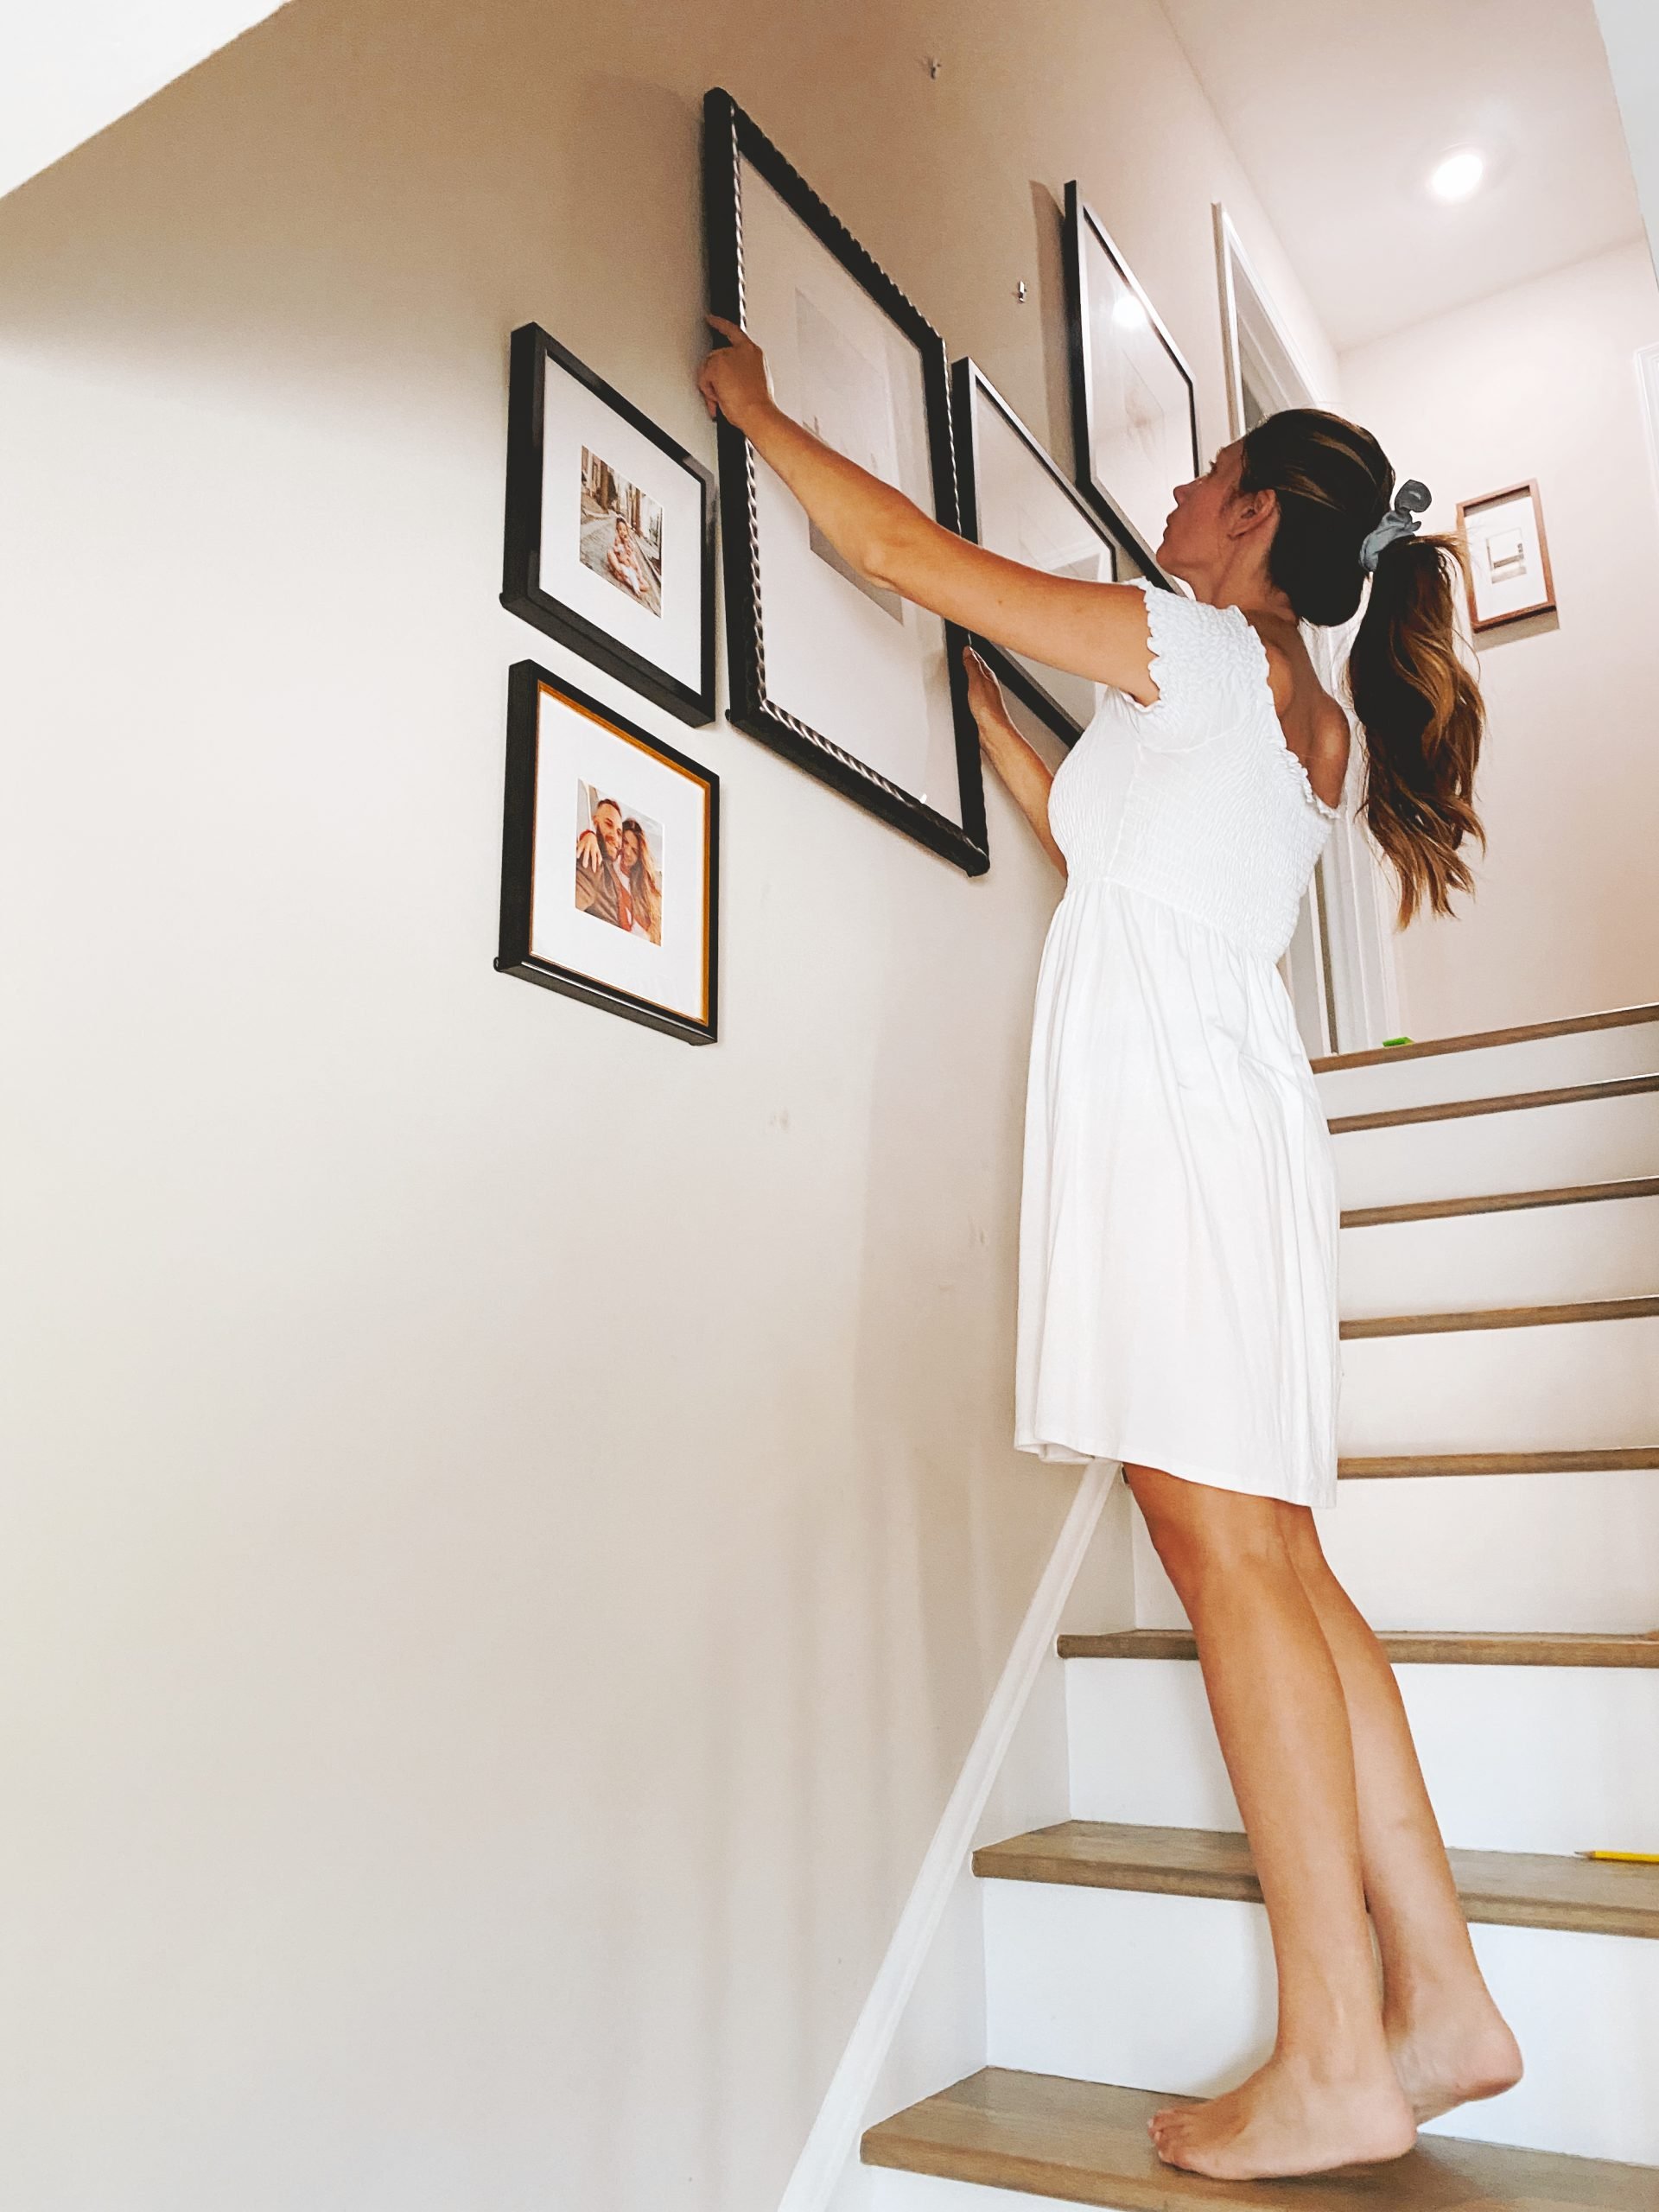
From there we hung the photos, ensured they were level and ripped down the hanging guide. EASIEST EVER. I couldn’t believe how beautiful the gallery wall looked when we were done!
Visiting the Framebridge Store at Suburban Square in Ardmore, PA
The team at Framebridge Suburban Square were so awesome! They really helped me bring my project to life by asking great questions and coming up with great design ideas for my Framebridge Gallery Wall. I brought in a few different options and they helped me create the perfect design for our upstairs hallway using the Philadelphia Prints from my Print Shop.

The team at Suburban Square asked great questions about where I wanted the design to go in my house and we went through so many beautiful frames until we decided on a custom frame. We decided on the Sonoma light brown wooden frame in 13×18 with dove white mats. I love white mats but not always bright white – the dove white Framebridge offers is the perfect white.
I think the Sonoma Frame perfectly complements my Philadelphia Photography. They even placed a customized Brass Plate on it in honor of @oldcitylove to make it super special. What do you think?! I’d love to hear below.
Another Collaboration: Keeping it All Together With Ford.

Add comment
What do you think?